
From first hello to final photo
Follow one wedding booking through FlickPic: the enquiry, the quote, the contract, the shoot, the payments and the gallery. At each step, see what you do in your studio and what your client sees on her phone. Every screen is a real screenshot from our demo studio.


The booking, step by step
-
Step 1: An enquiry comes in
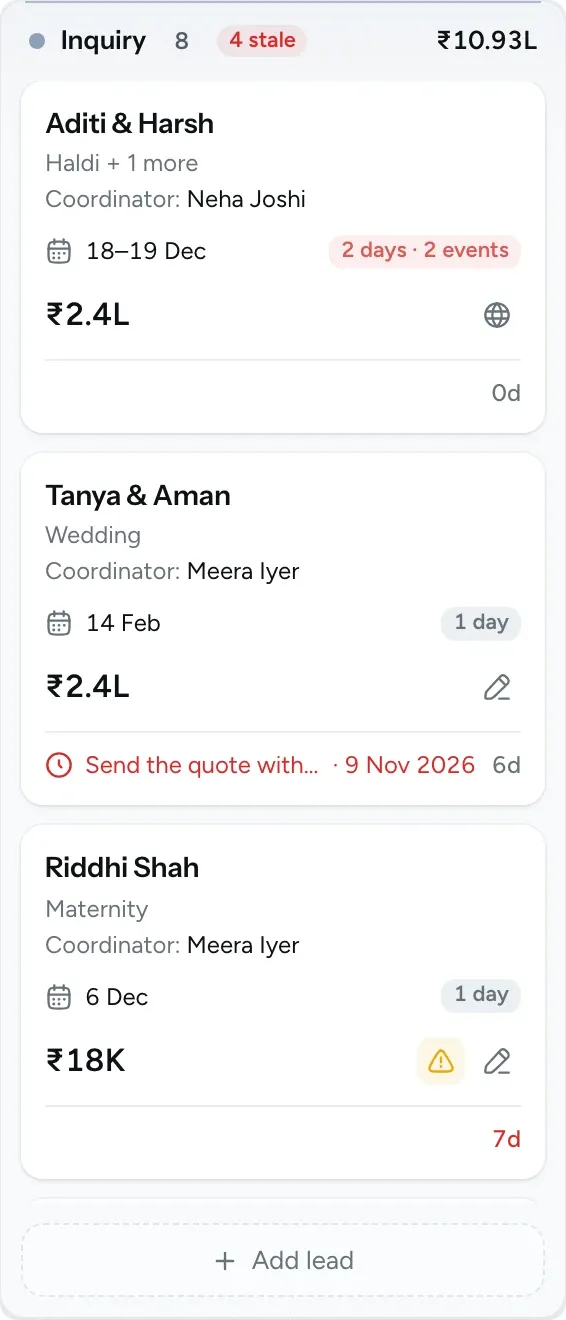
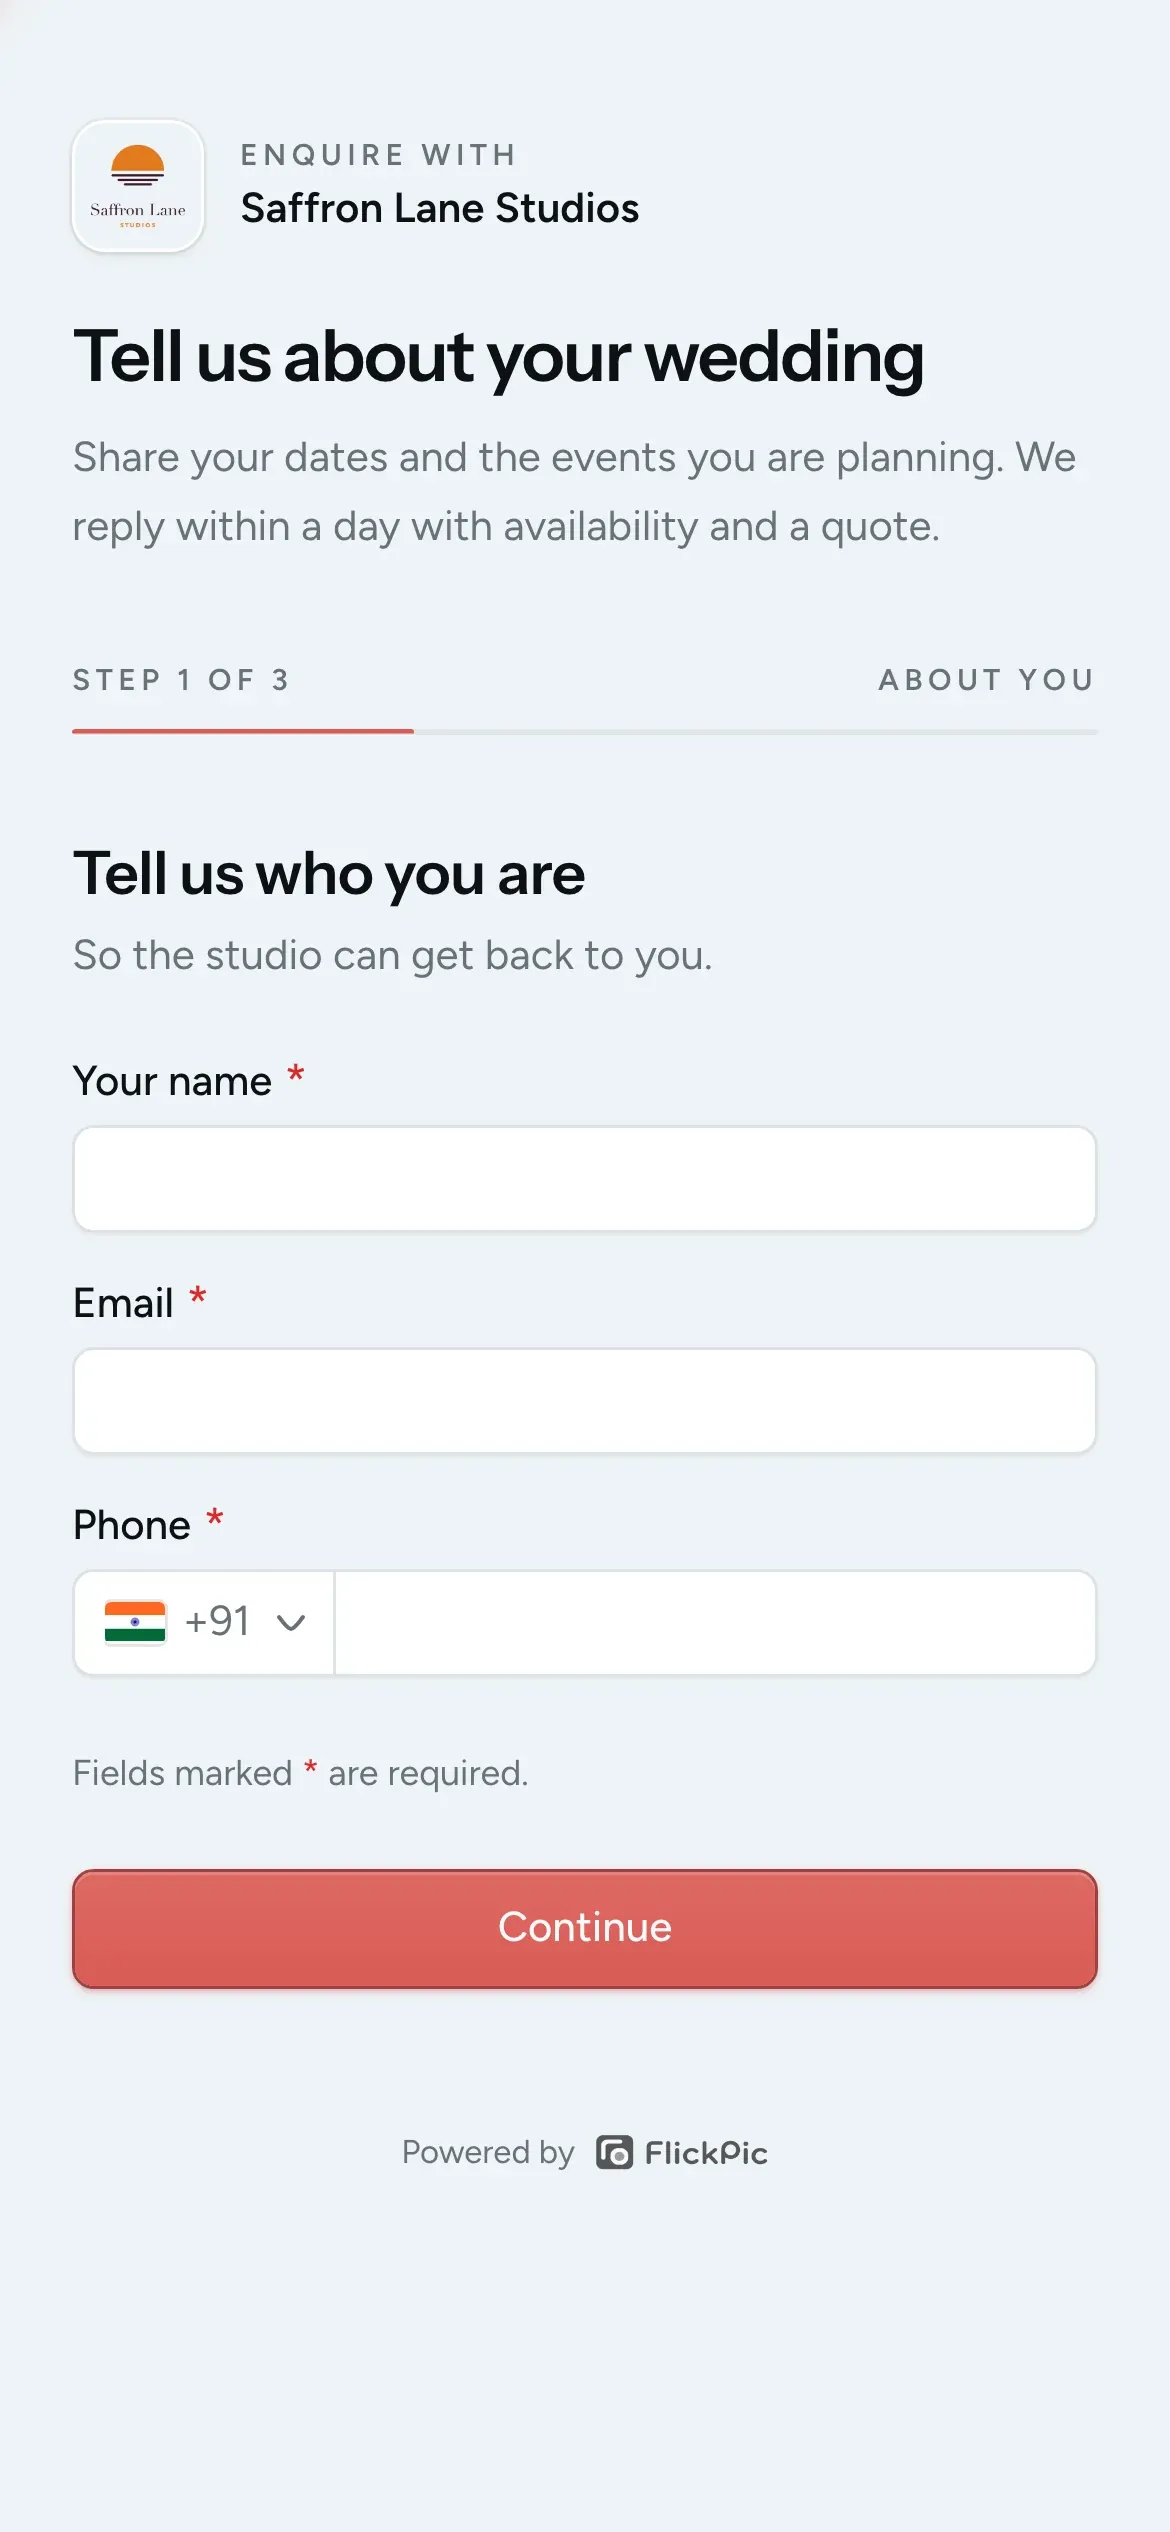
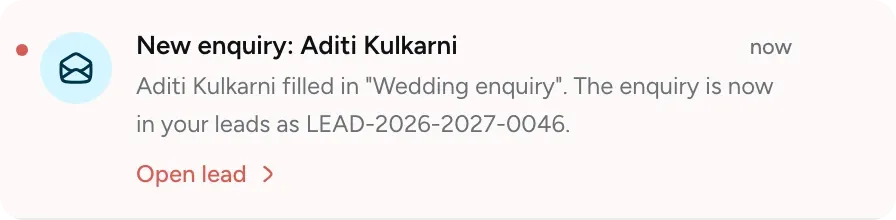
You Share your enquiry form on your website or Instagram. Each new enquiry appears on your board as a card, and you get a notification.
Client She fills in your form on her phone with her events, dates and guest count, and then receives an email confirming that you have her enquiry.
-
Step 2: Move the enquiry across your board
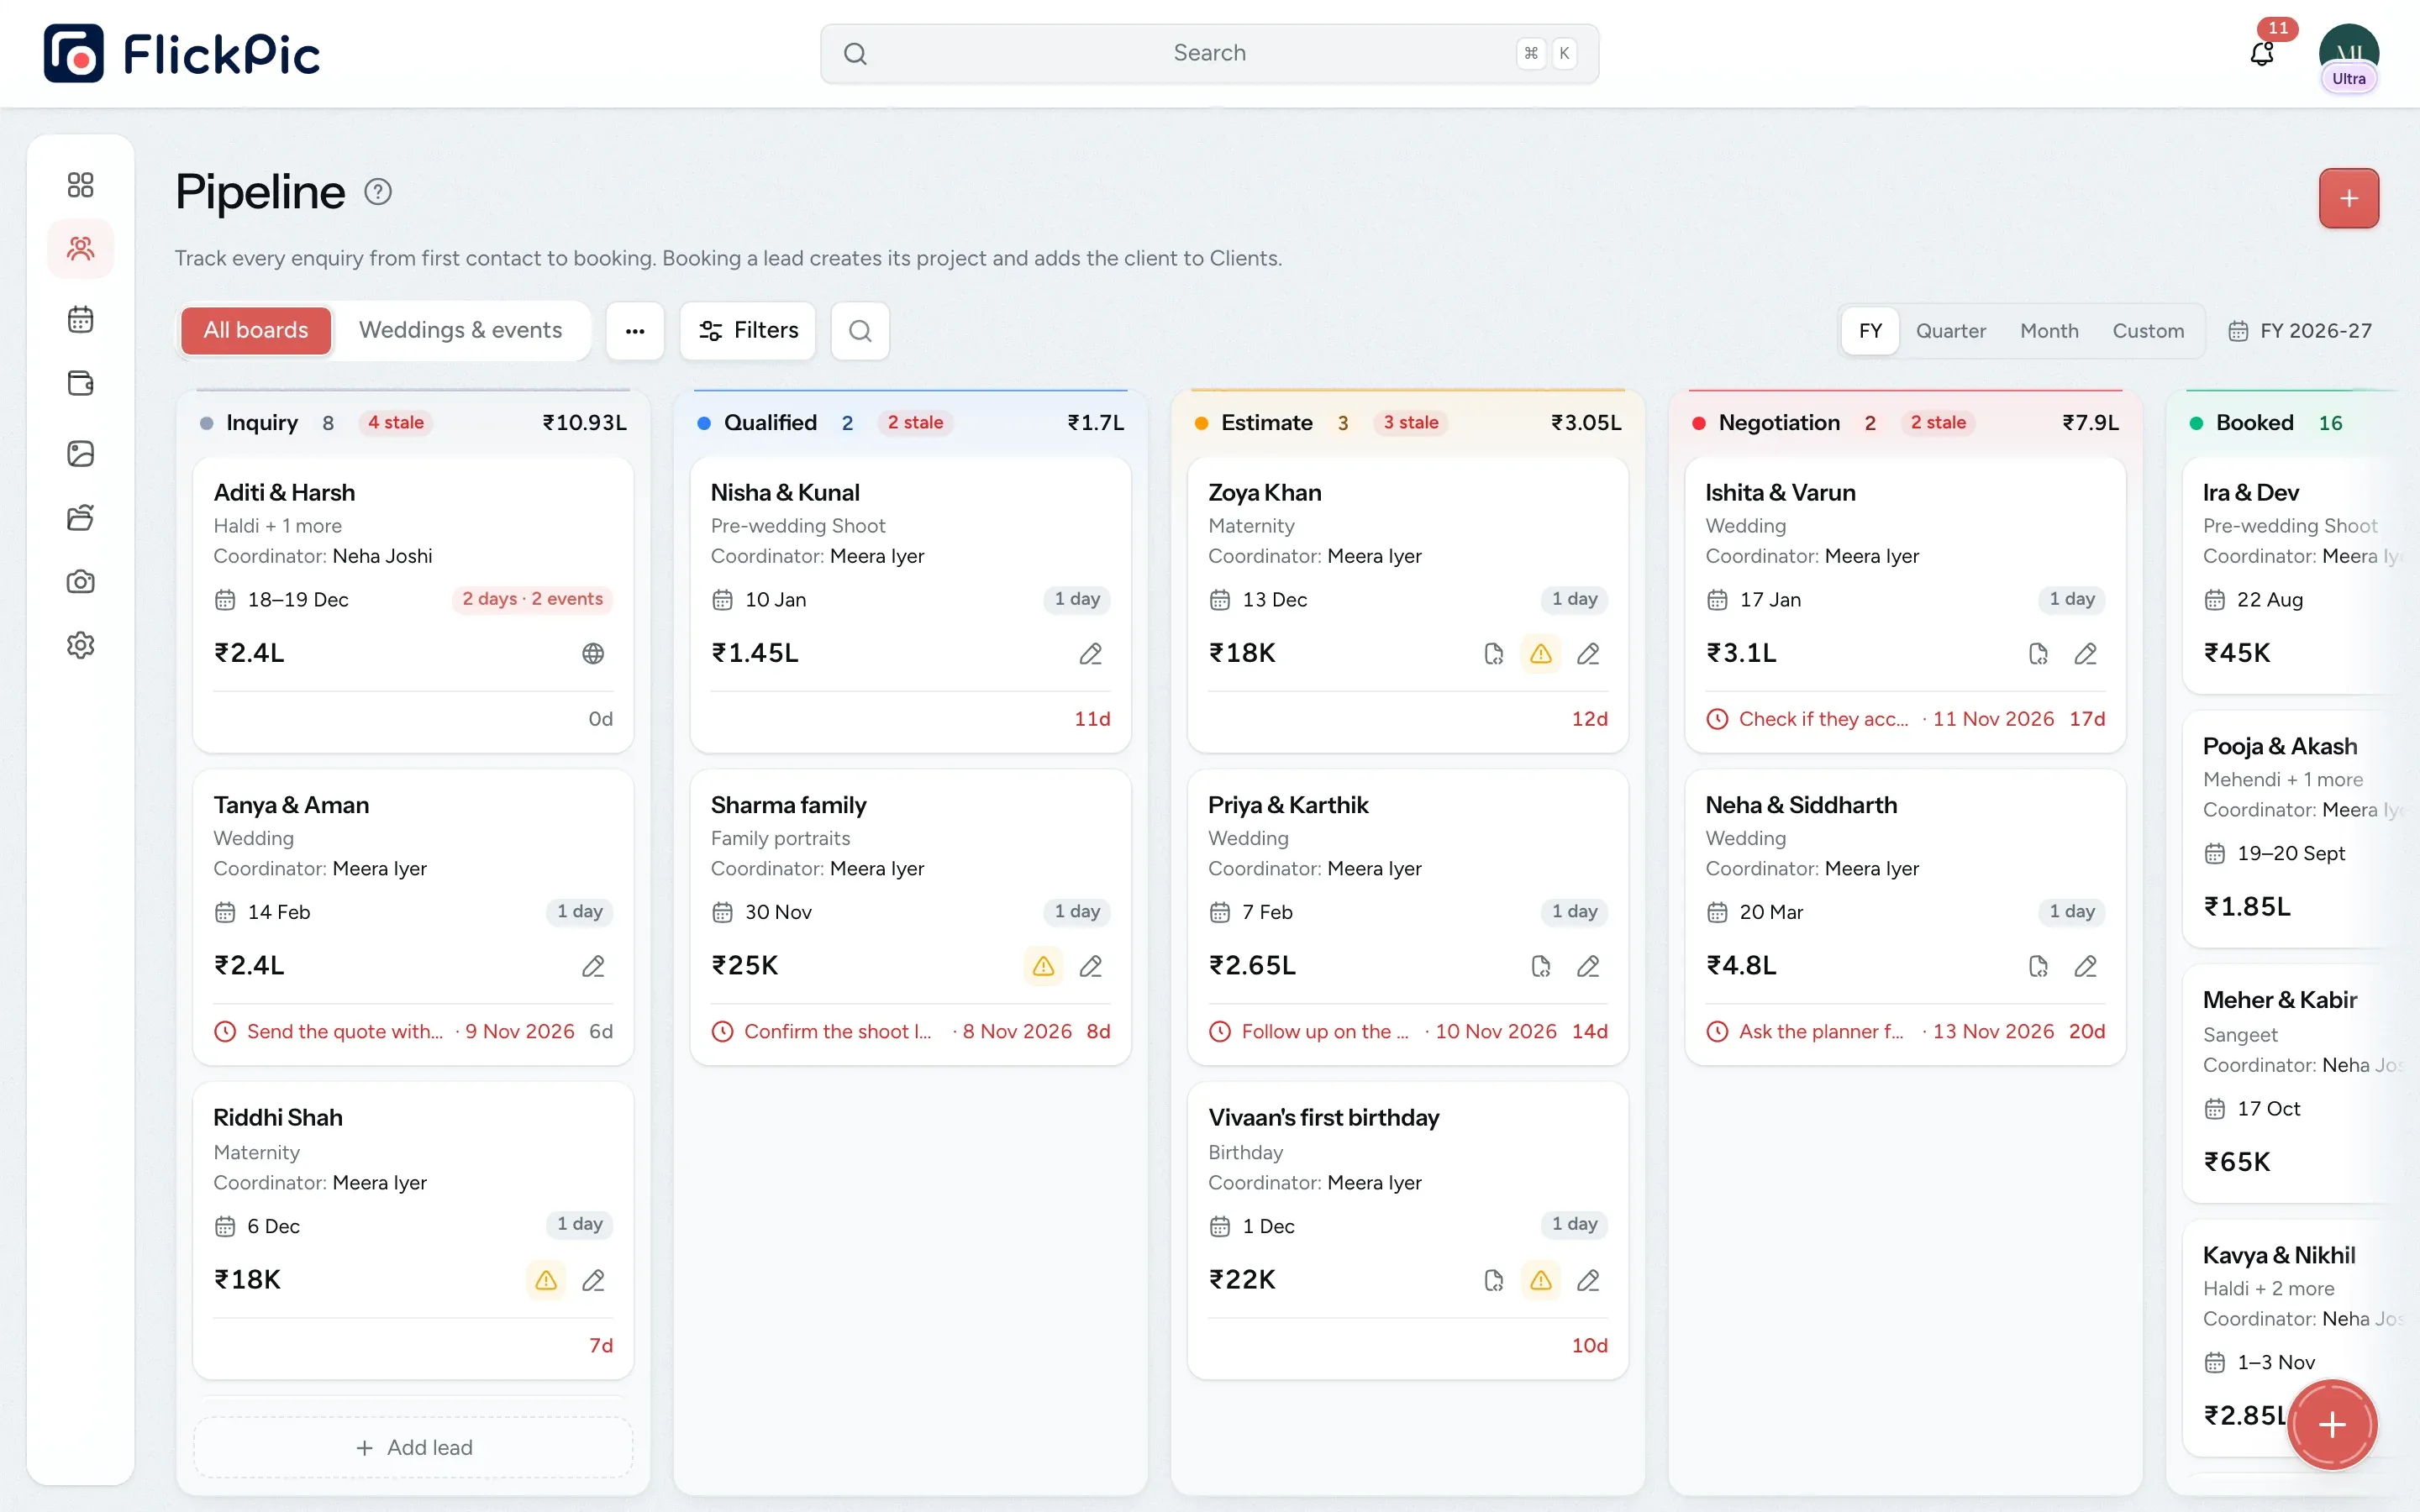
You As the conversation progresses, drag the card to the next stage. The board shows you at a glance who needs a reply and who is close to booking.
Client She keeps talking to you by phone or chat as usual, and she doesn't need to sign up for anything yet.
-
Step 3: Send an estimate
A new document for you
Hi Aditi,
Saffron Lane Studios has sent you an estimate. You can view it online and download a PDF copy for your records.
Number: EST/2026-27/0013
Amount: ₹2,40,000.00View it here:
https://share.flickpic.app/billing/…Questions about it? Use the buttons below to reach the studio.
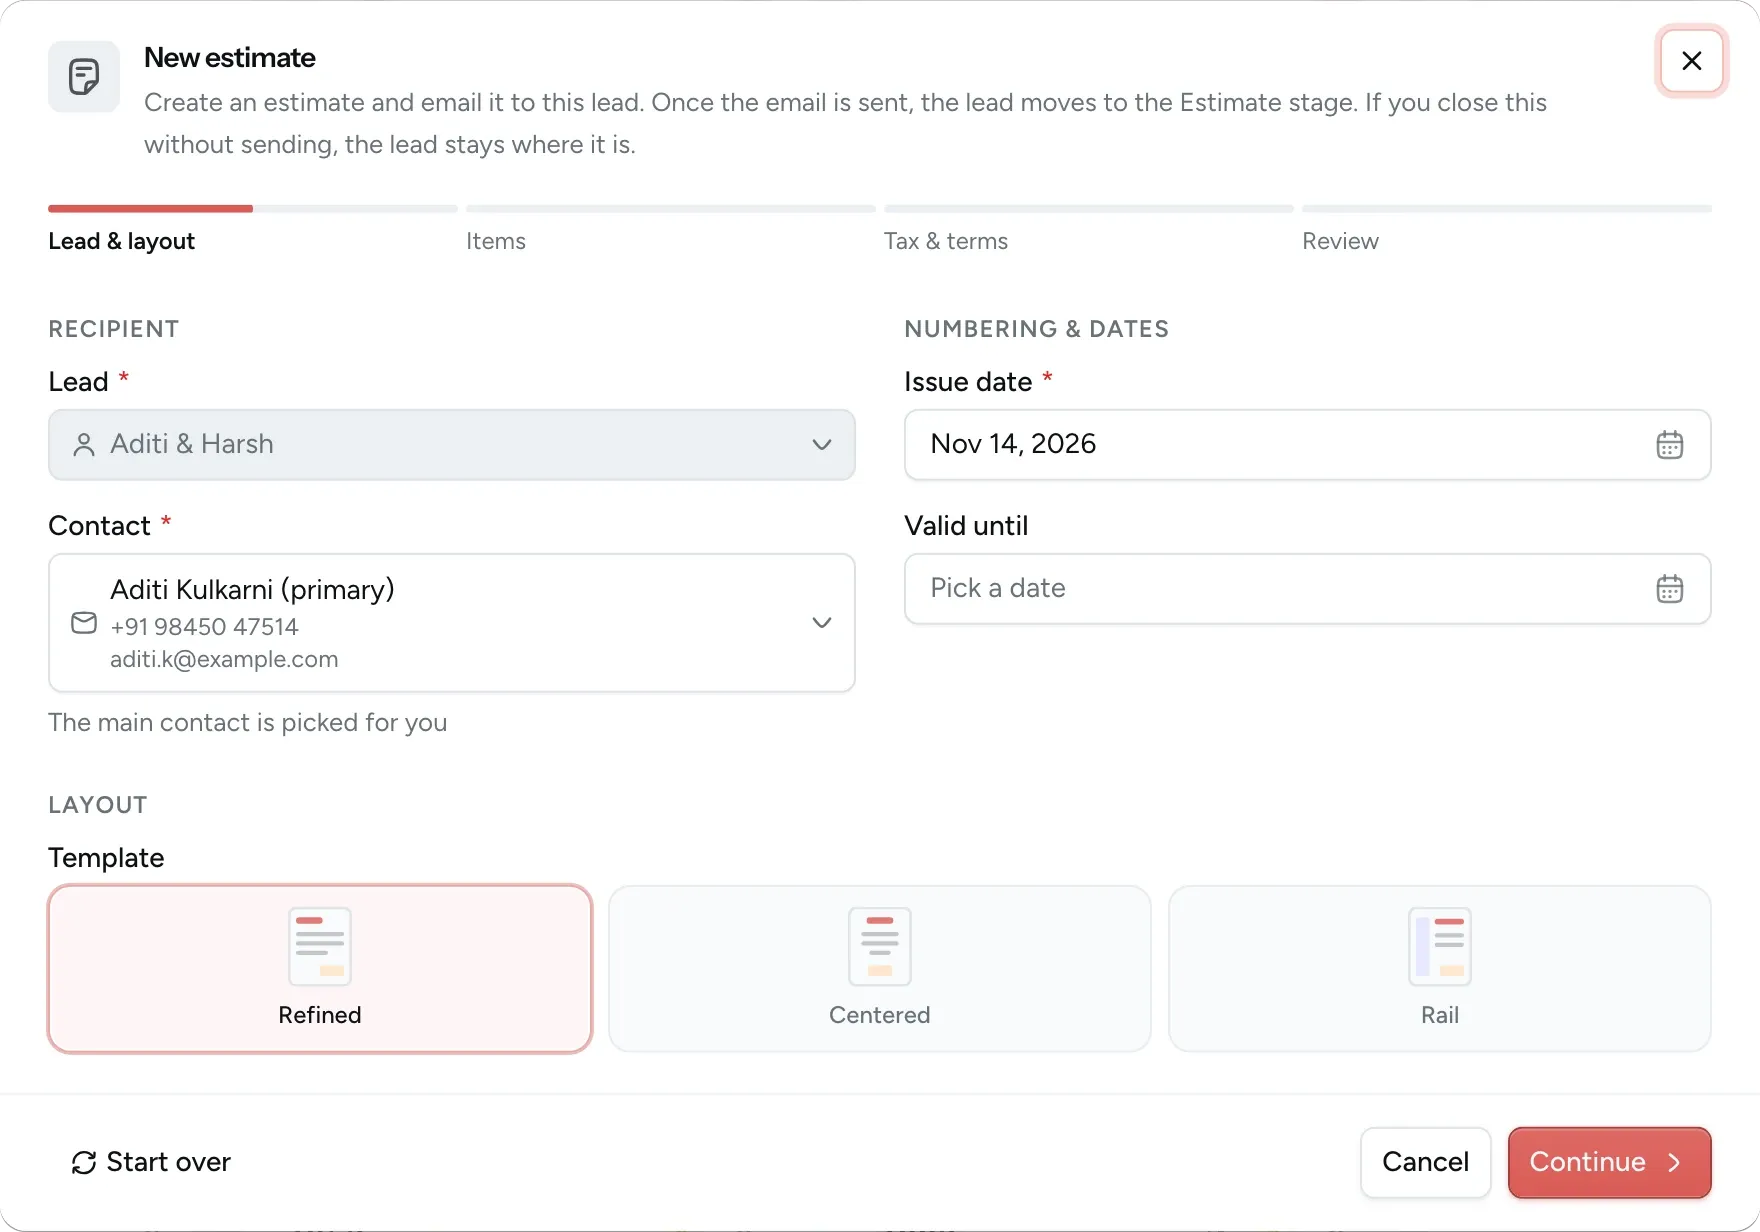
The exact WhatsApp message a client receives when you send an estimate. You Drag the card to Estimate and create the quote from your own packages. After you send it, you'll know as soon as she opens it.
Client She receives a link by email, and also on WhatsApp if your plan includes it. The link opens the estimate directly, and she doesn't need an account or a password.
-
Step 4: Mark the enquiry as booked
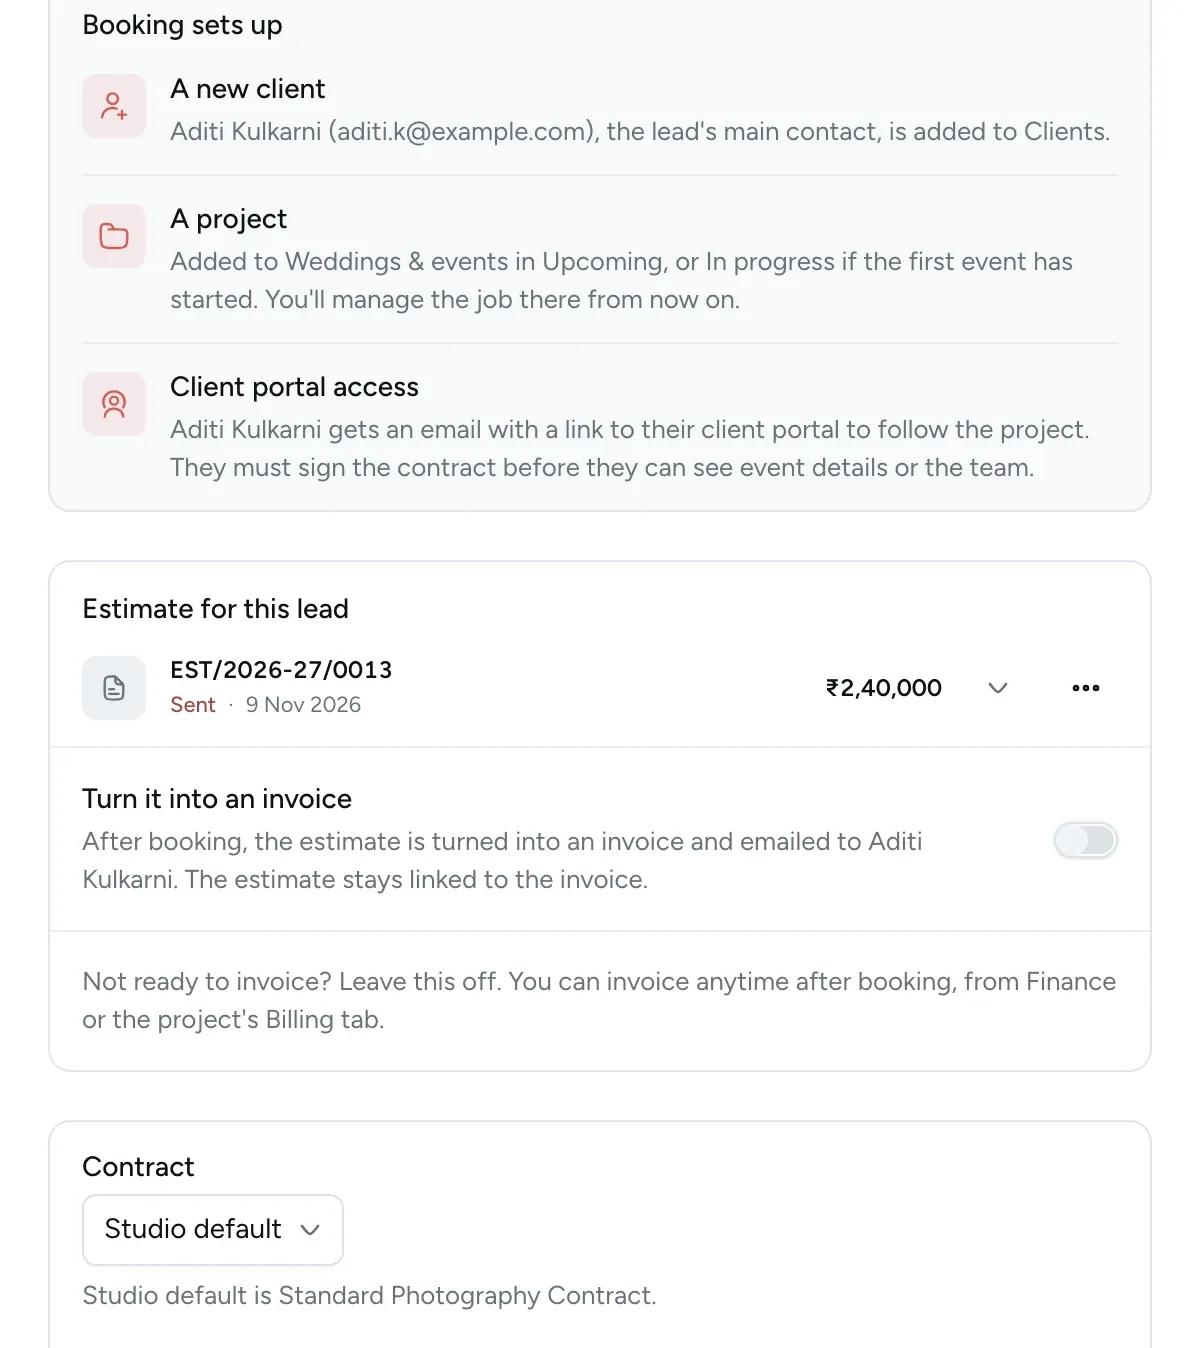
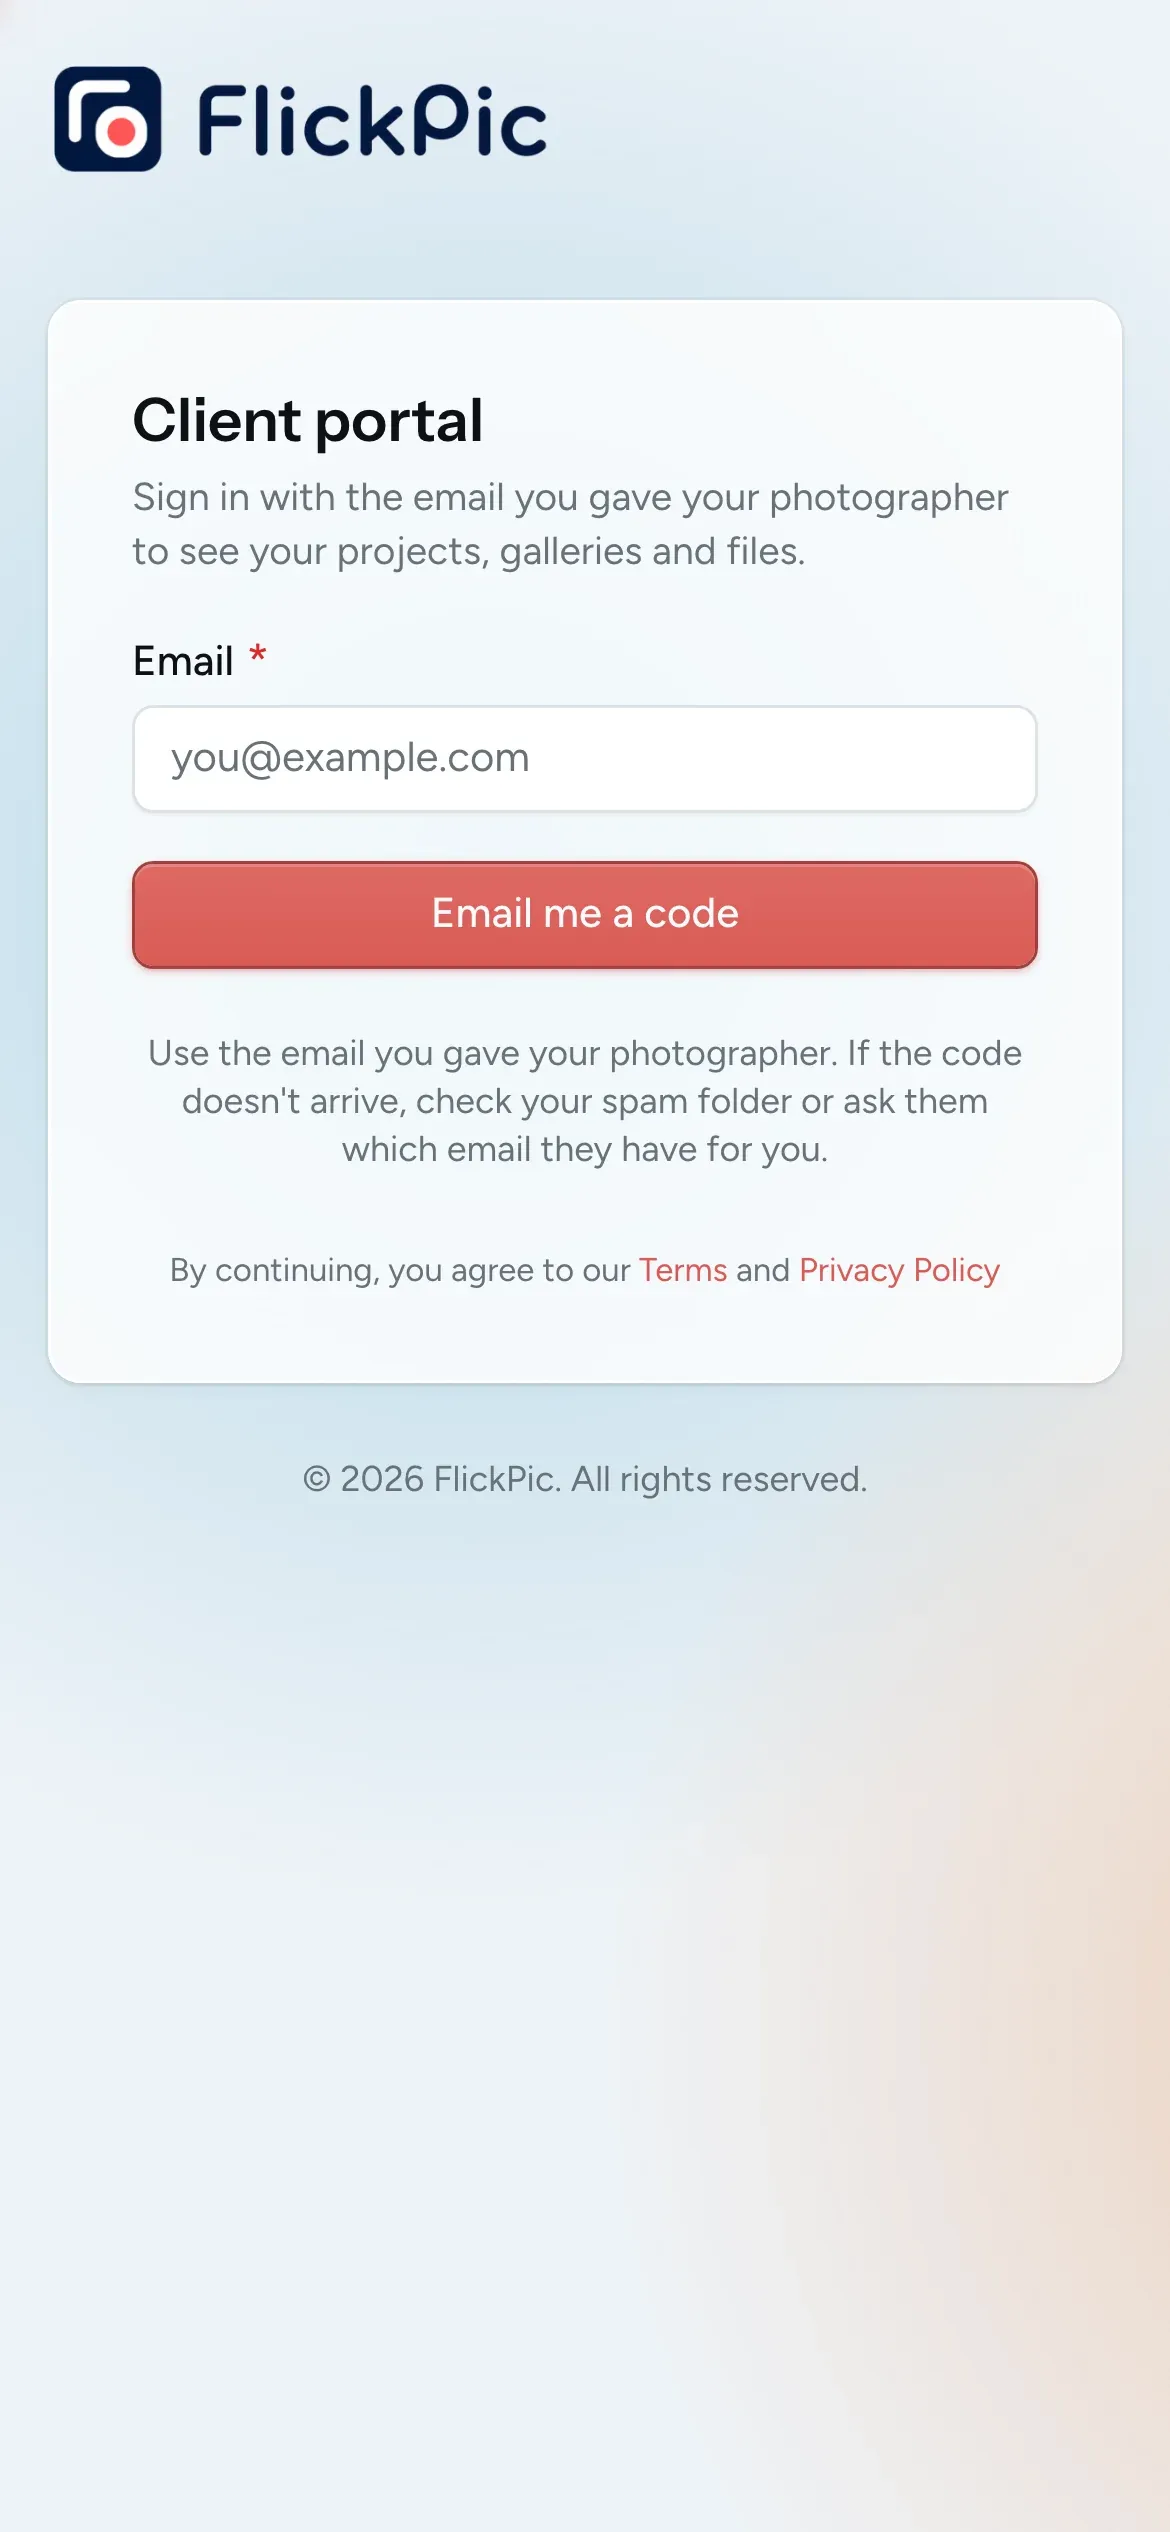
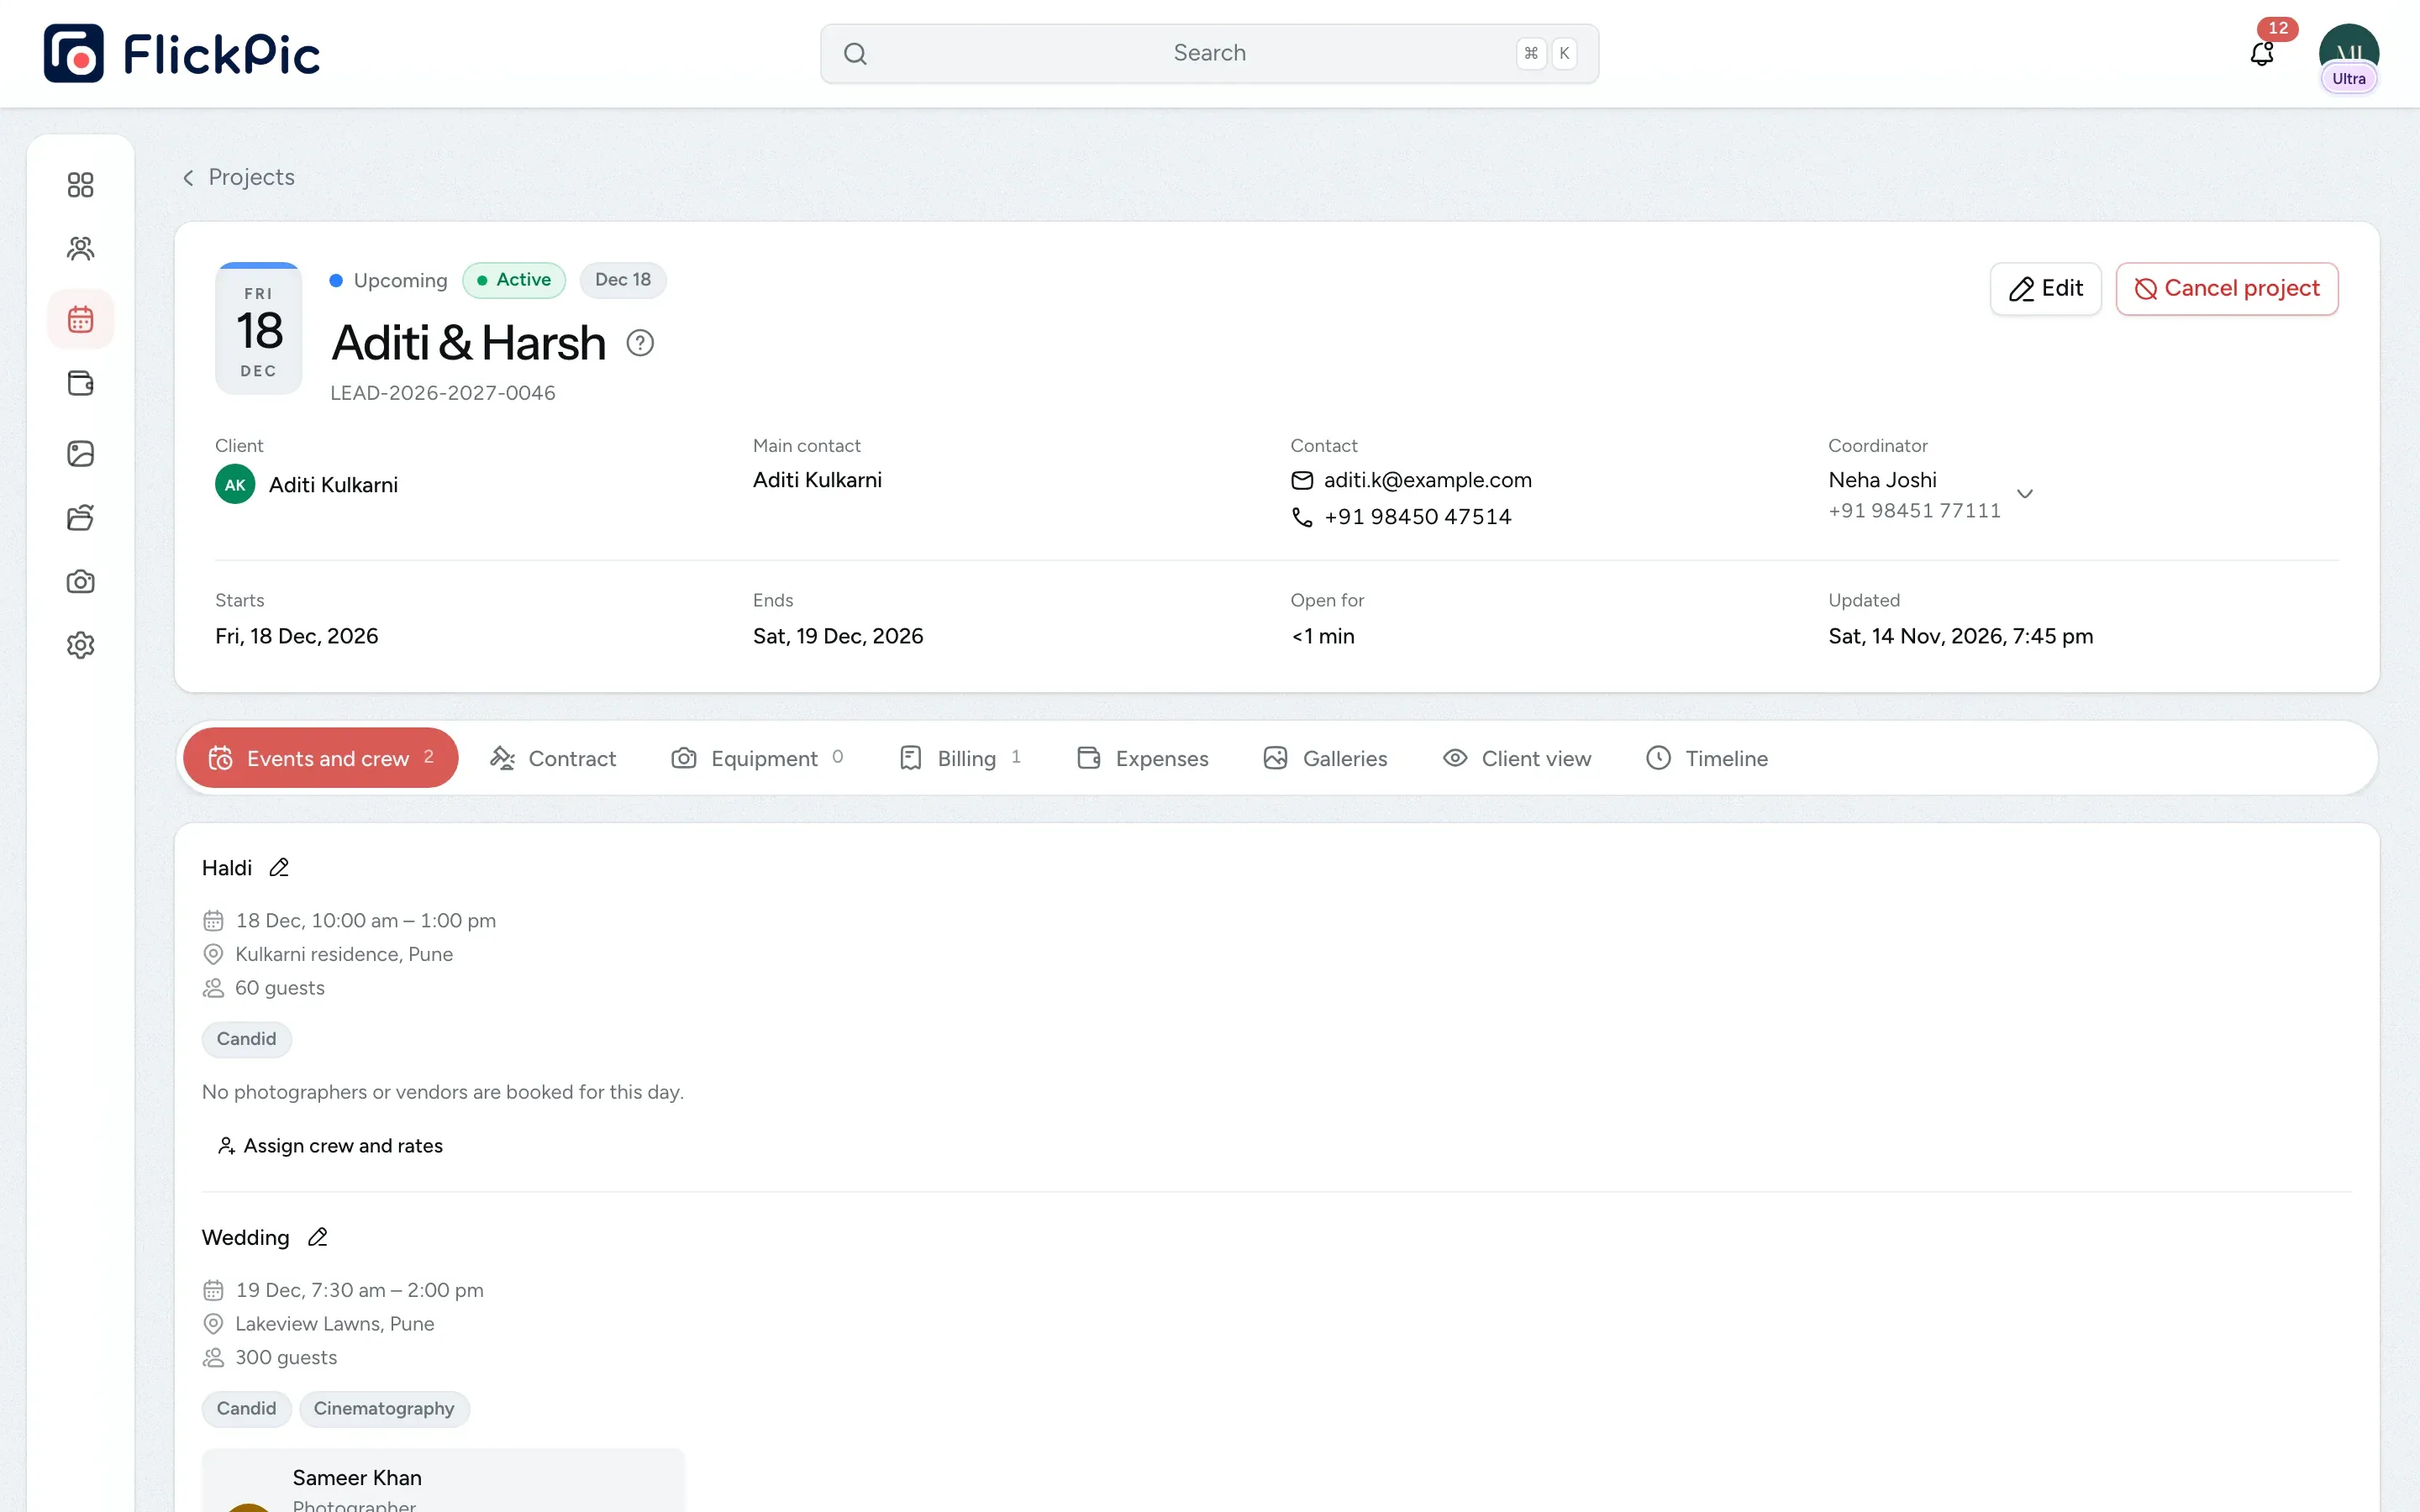
You Drag the card to Booked. FlickPic then adds her as a client, creates the project and gives her access to her client portal, all in one step.
Client She receives an invitation to her portal and signs in with a six-digit code sent to her email, so she has no password to create or remember.
-
Step 5: Get the contract signed
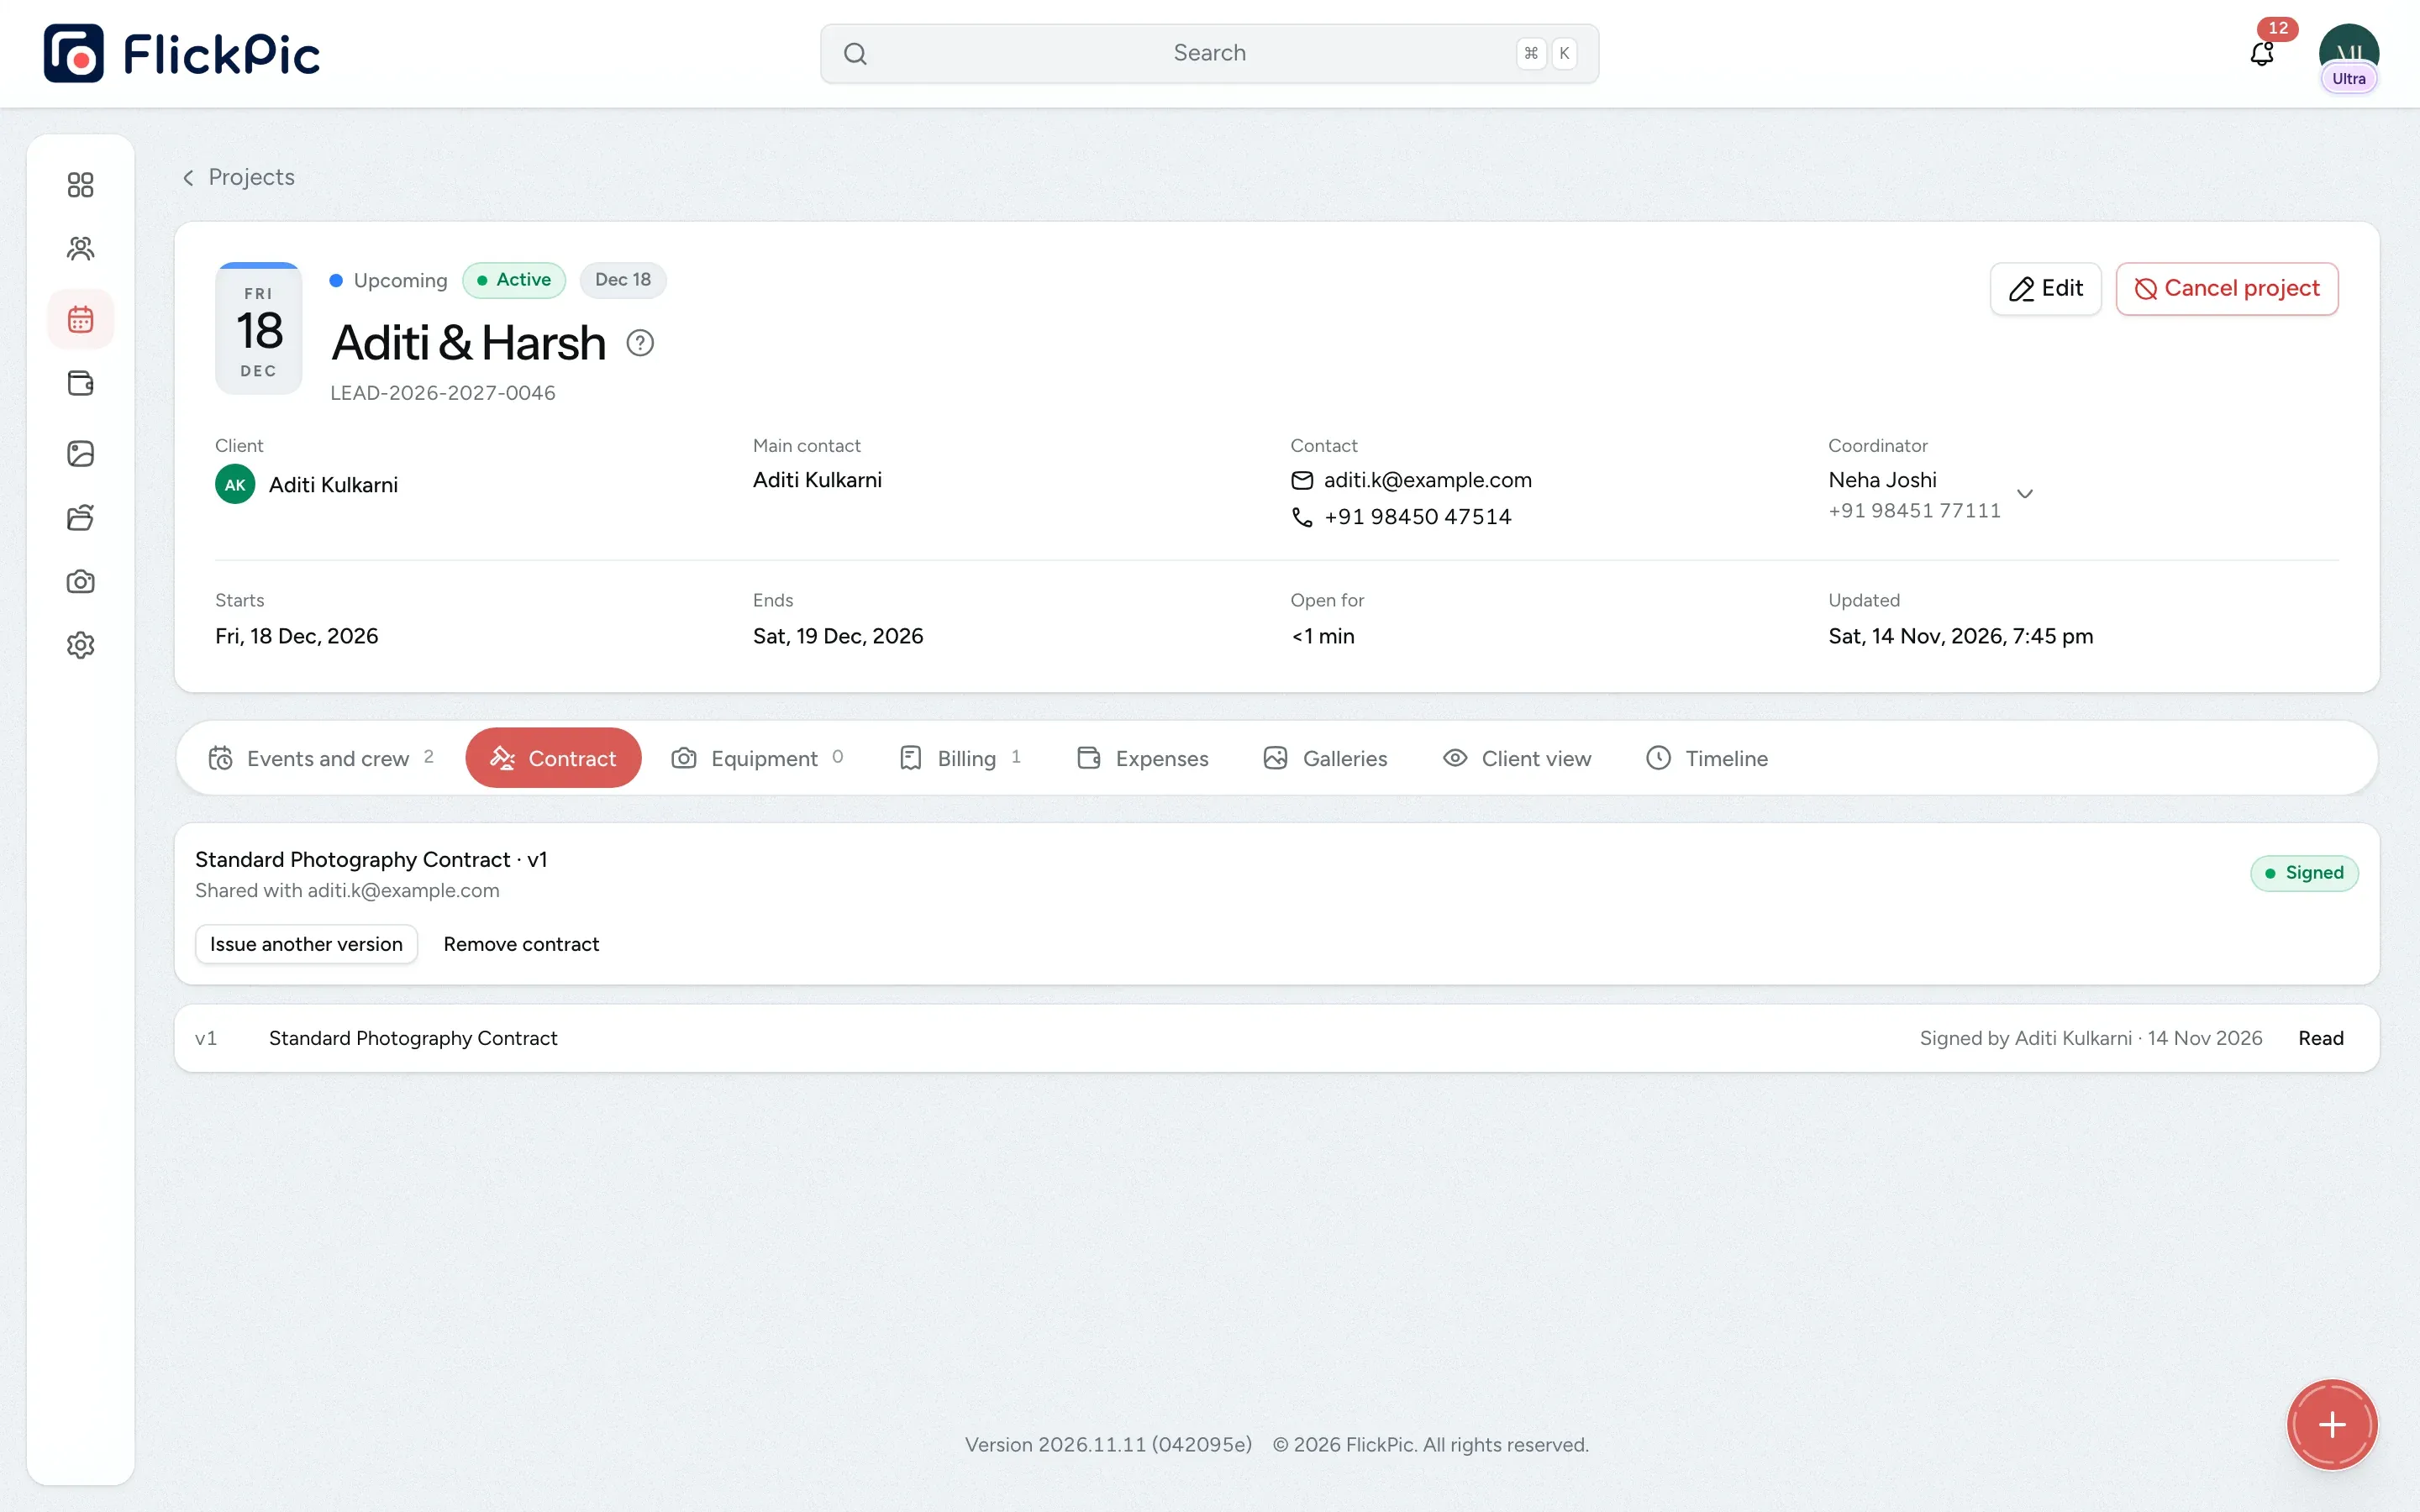
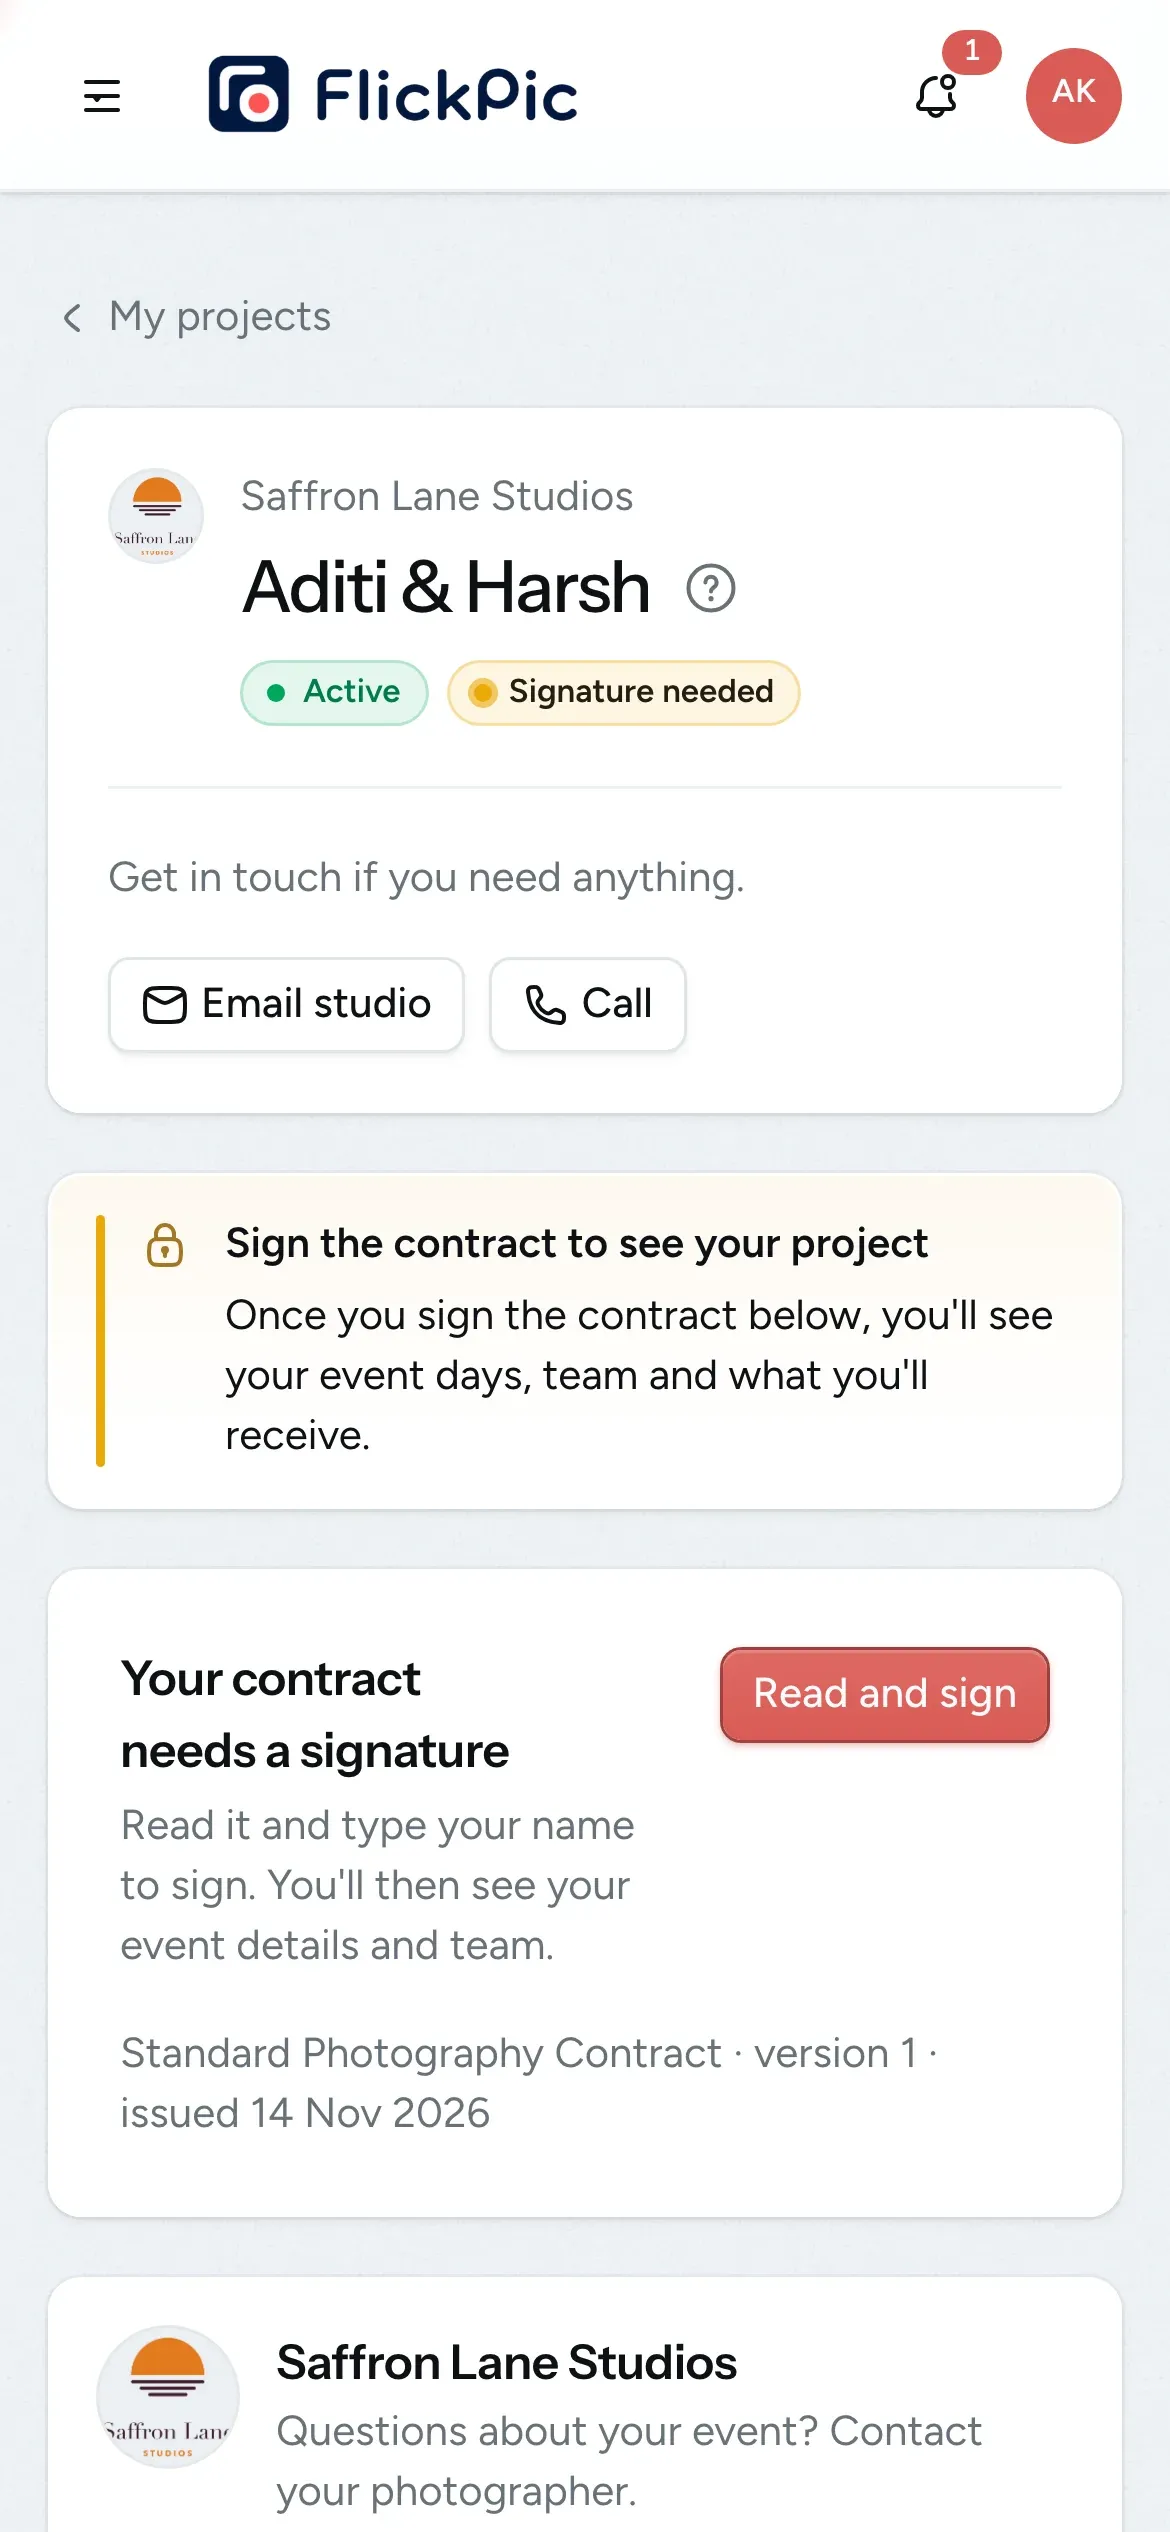
You Choose the contract when you book the client. Her portal hides her event days and team until she signs, and you're notified as soon as she does. Once it is signed, the contract can never be changed.
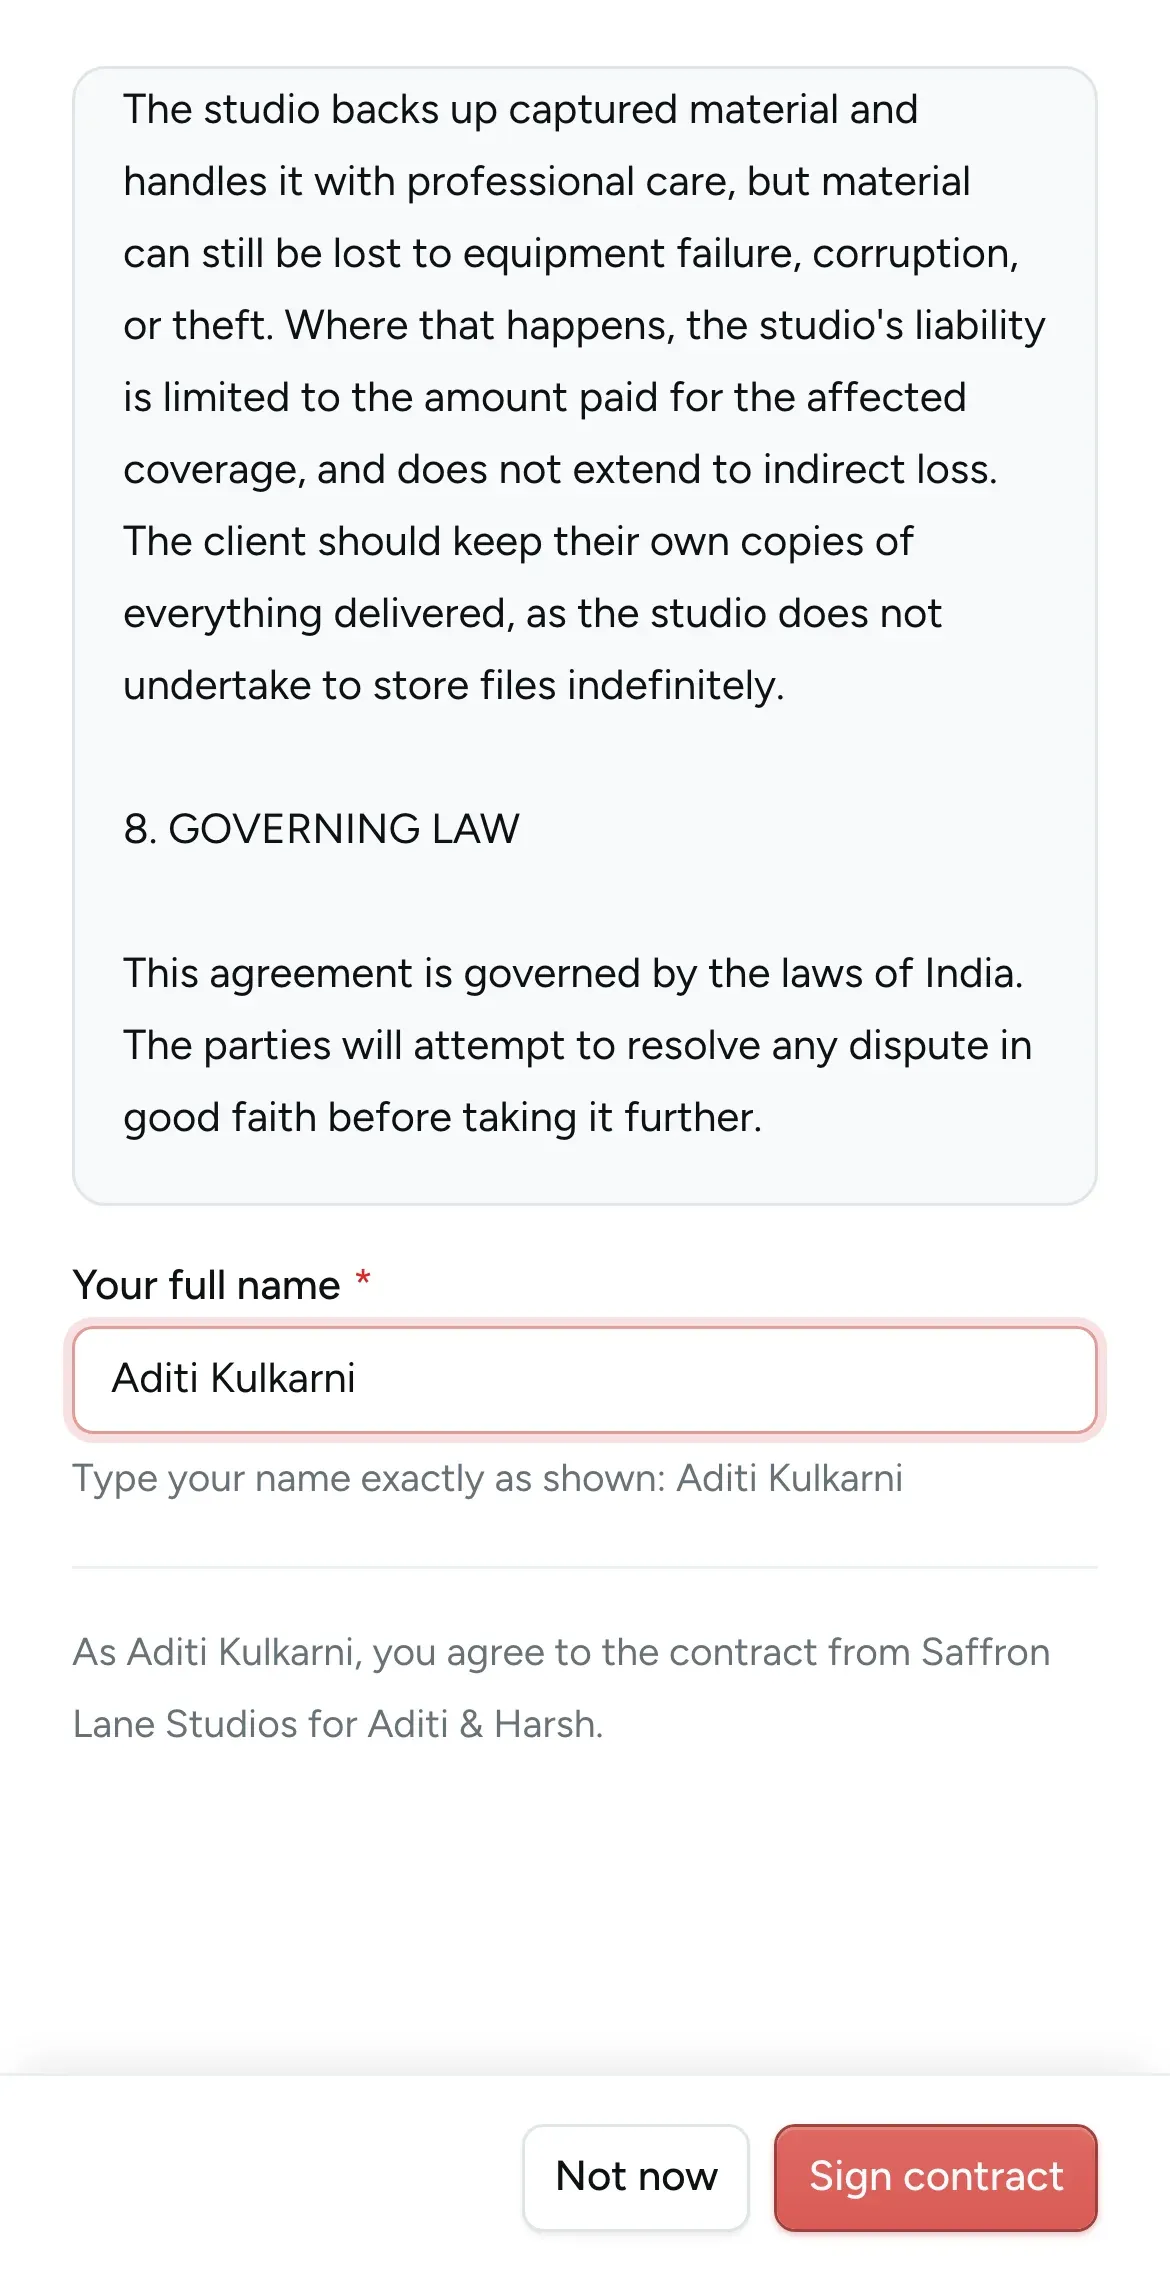
Client She reads the contract in her portal and signs it by typing her full name. After that, she can see her whole project.
-
Step 6: Plan the shoot
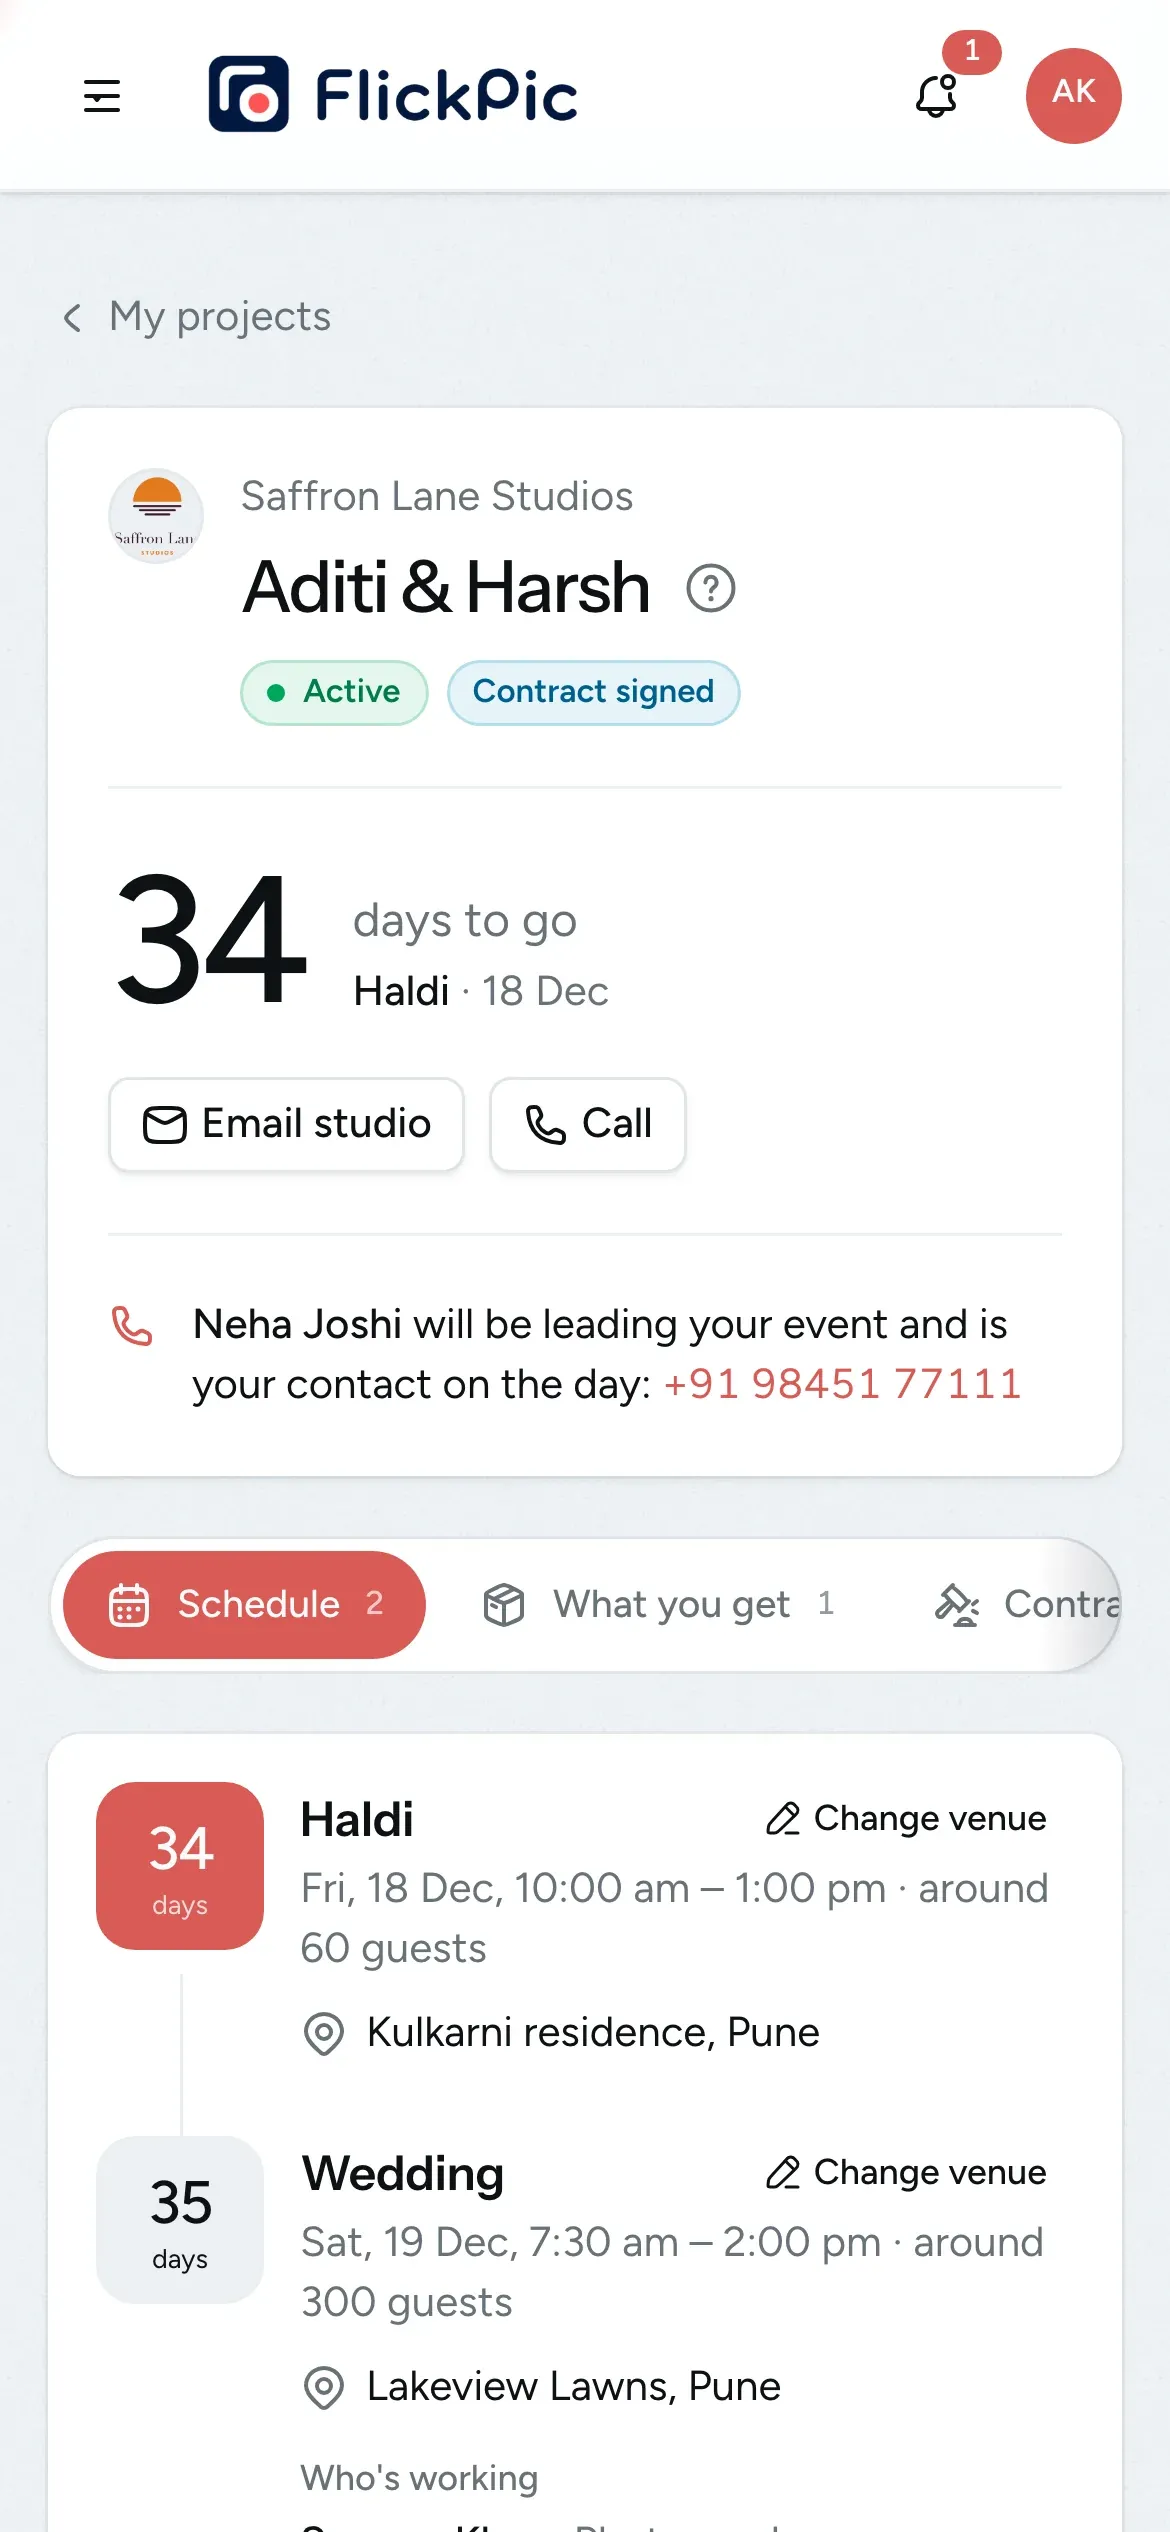
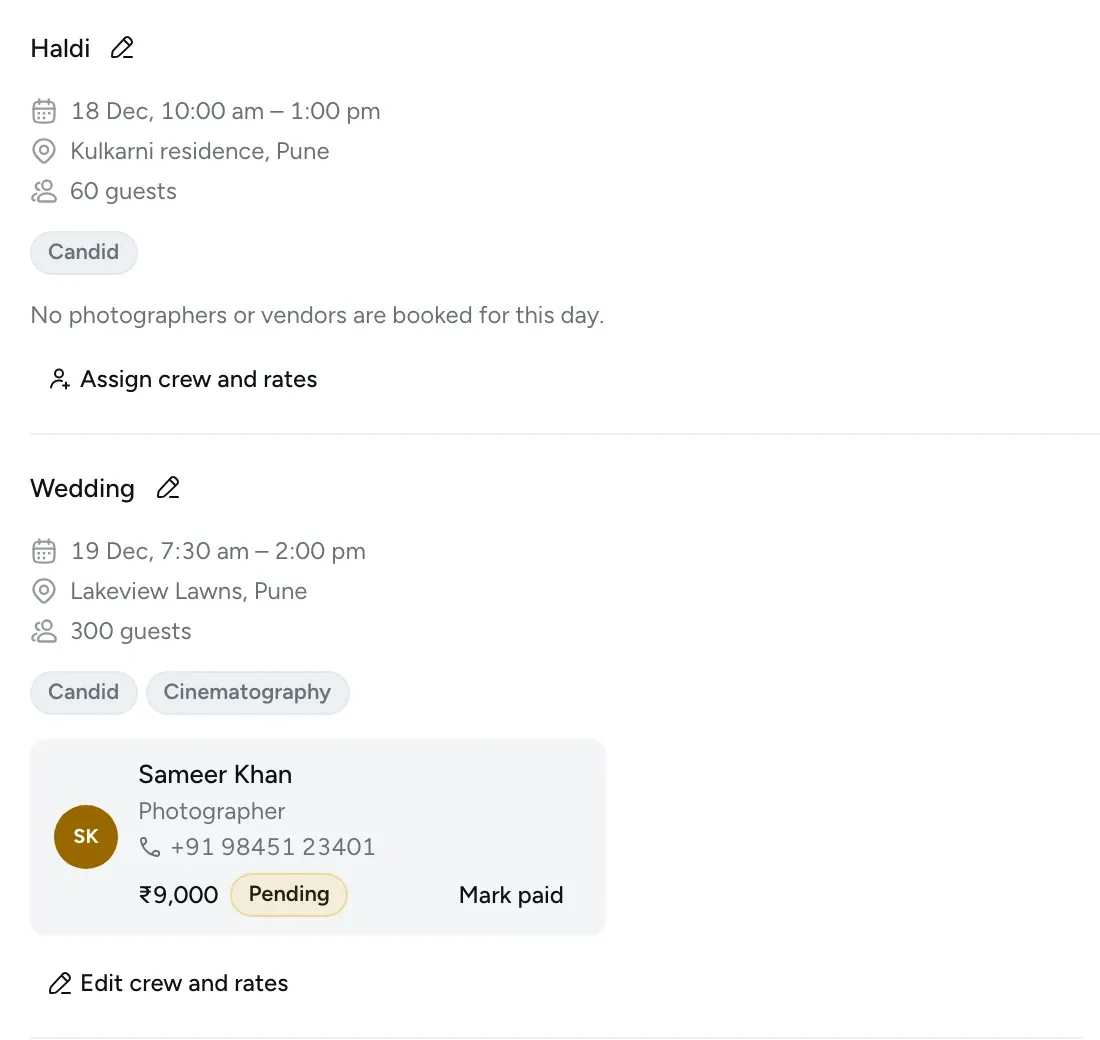
You Add a date, venue and crew to each event. Your photographers can receive a briefing a week ahead and a reminder the day before. FlickPic warns you if a crew member is double-booked.
Client Her portal counts down the days to the wedding and shows who is shooting each event. She can add the venue and a map link herself, and she gets a reminder two days before each event.
-
Step 7: Invoice and get paid
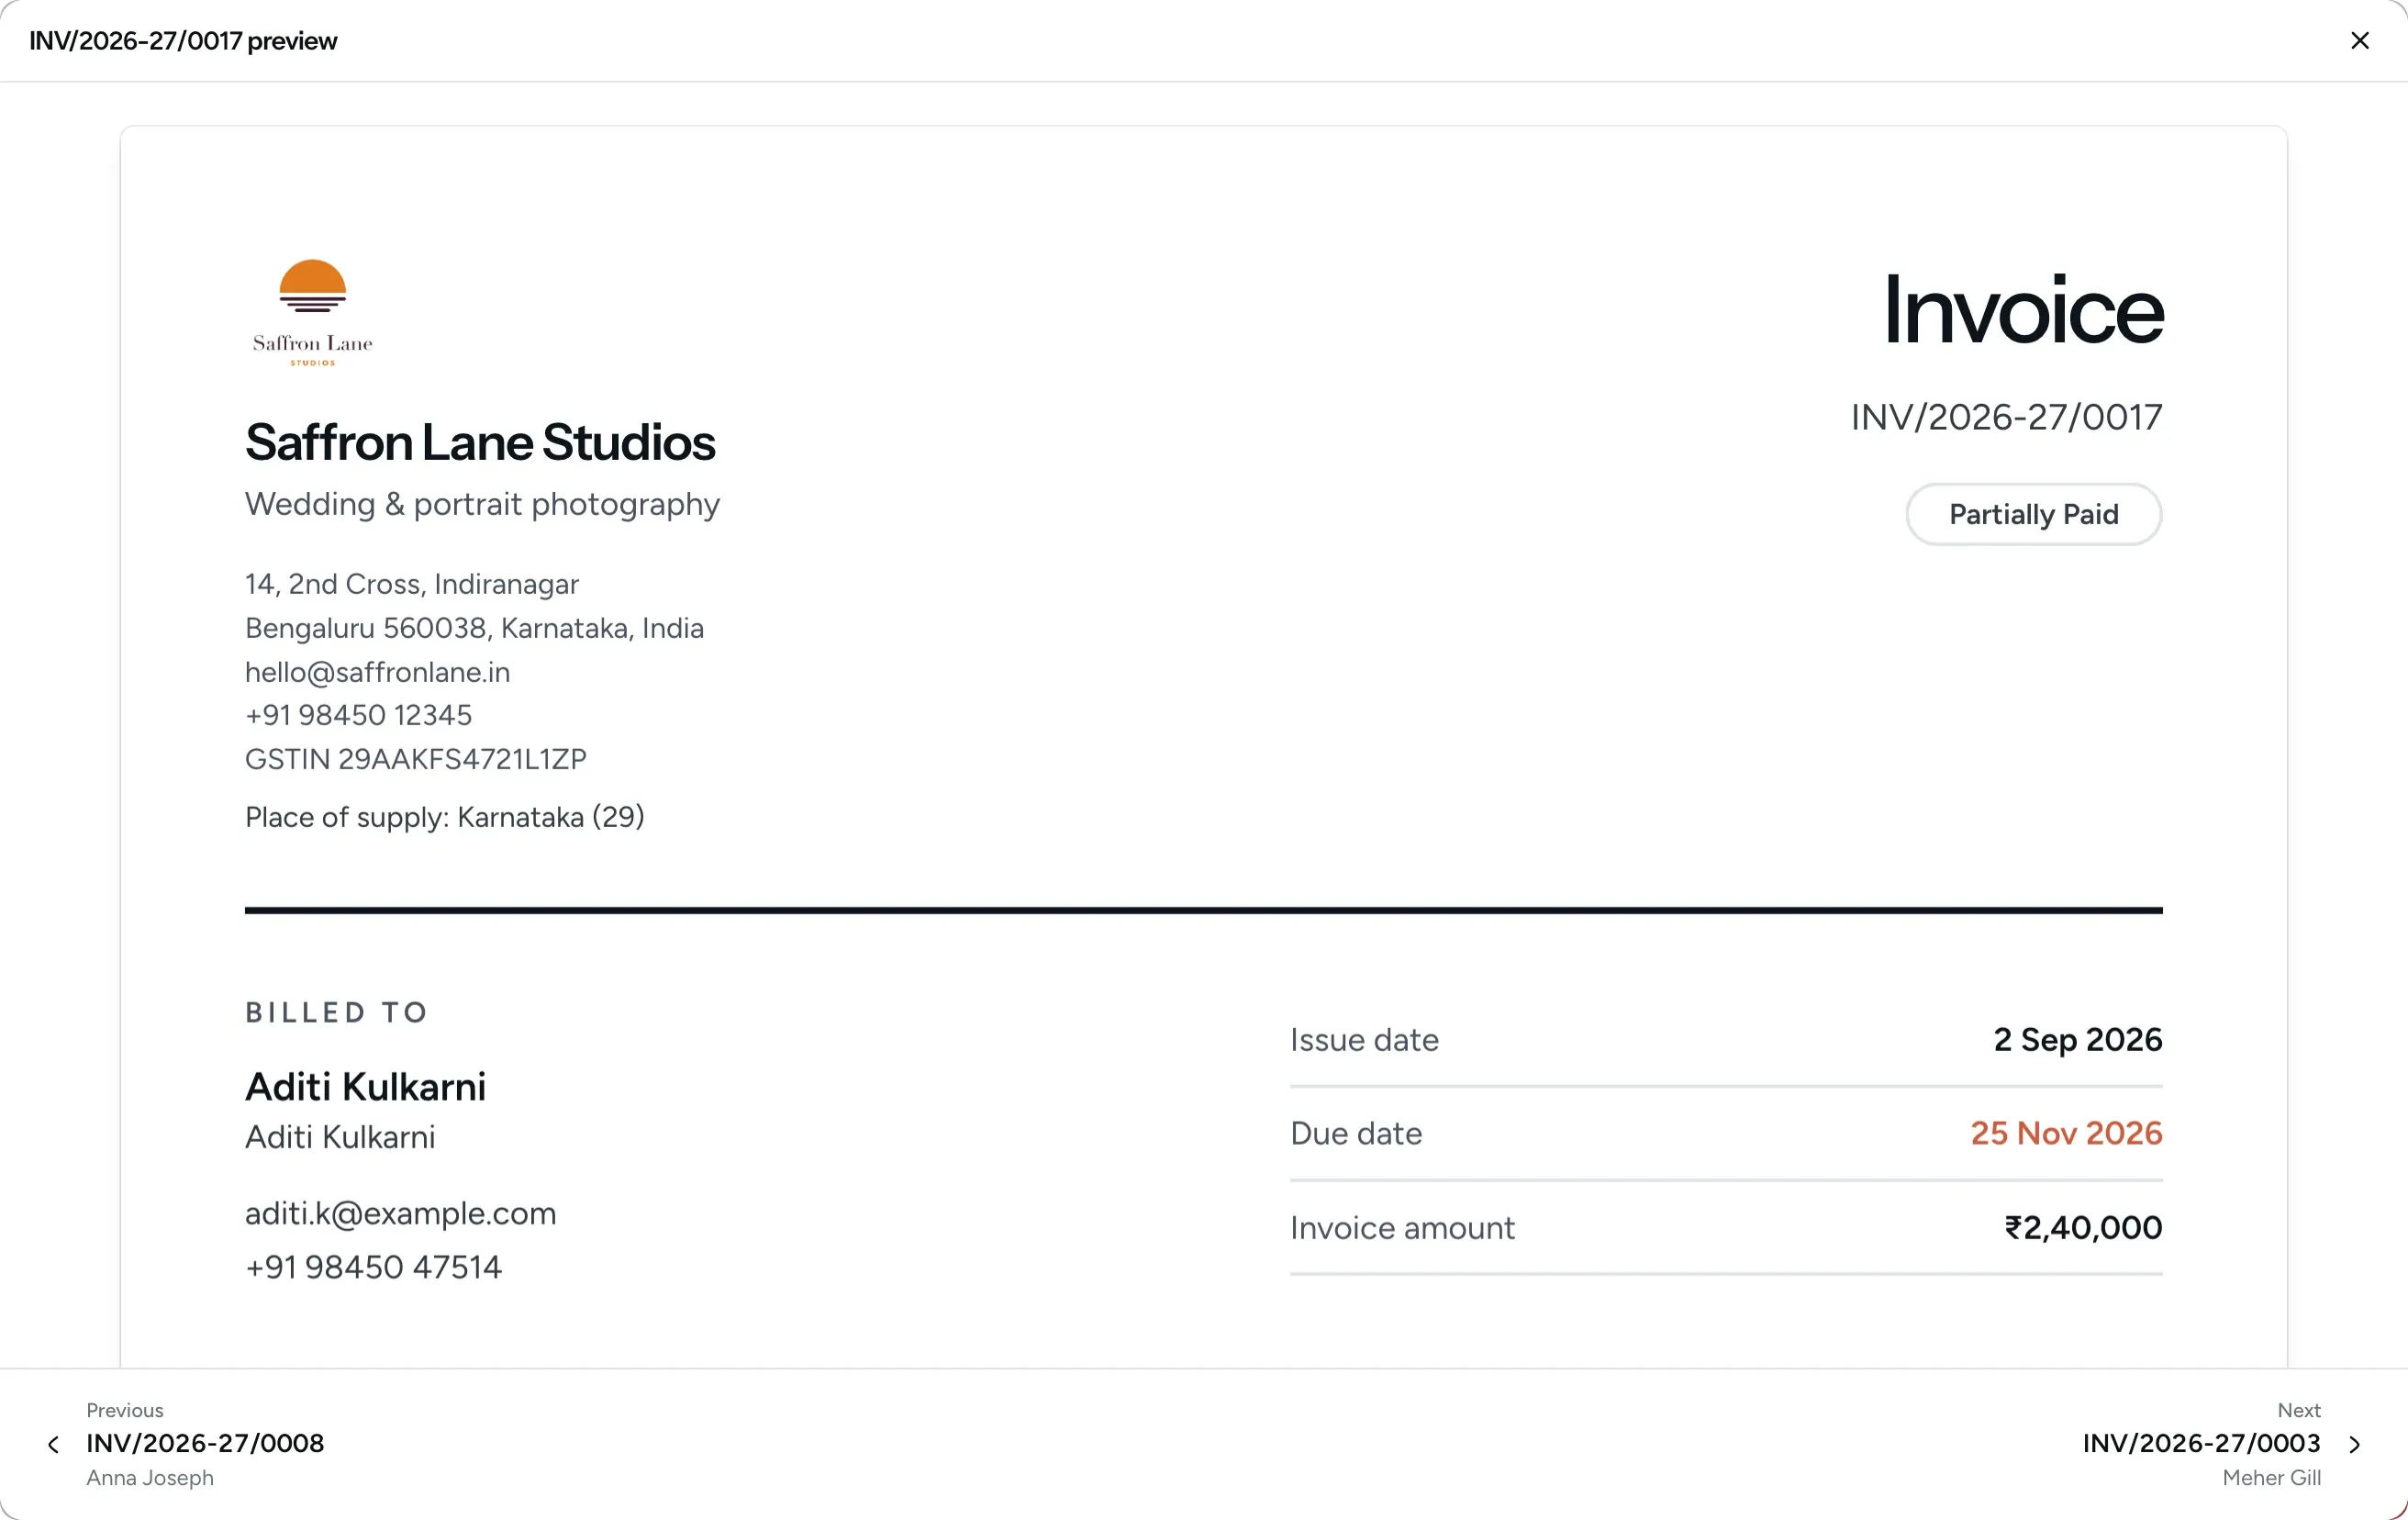
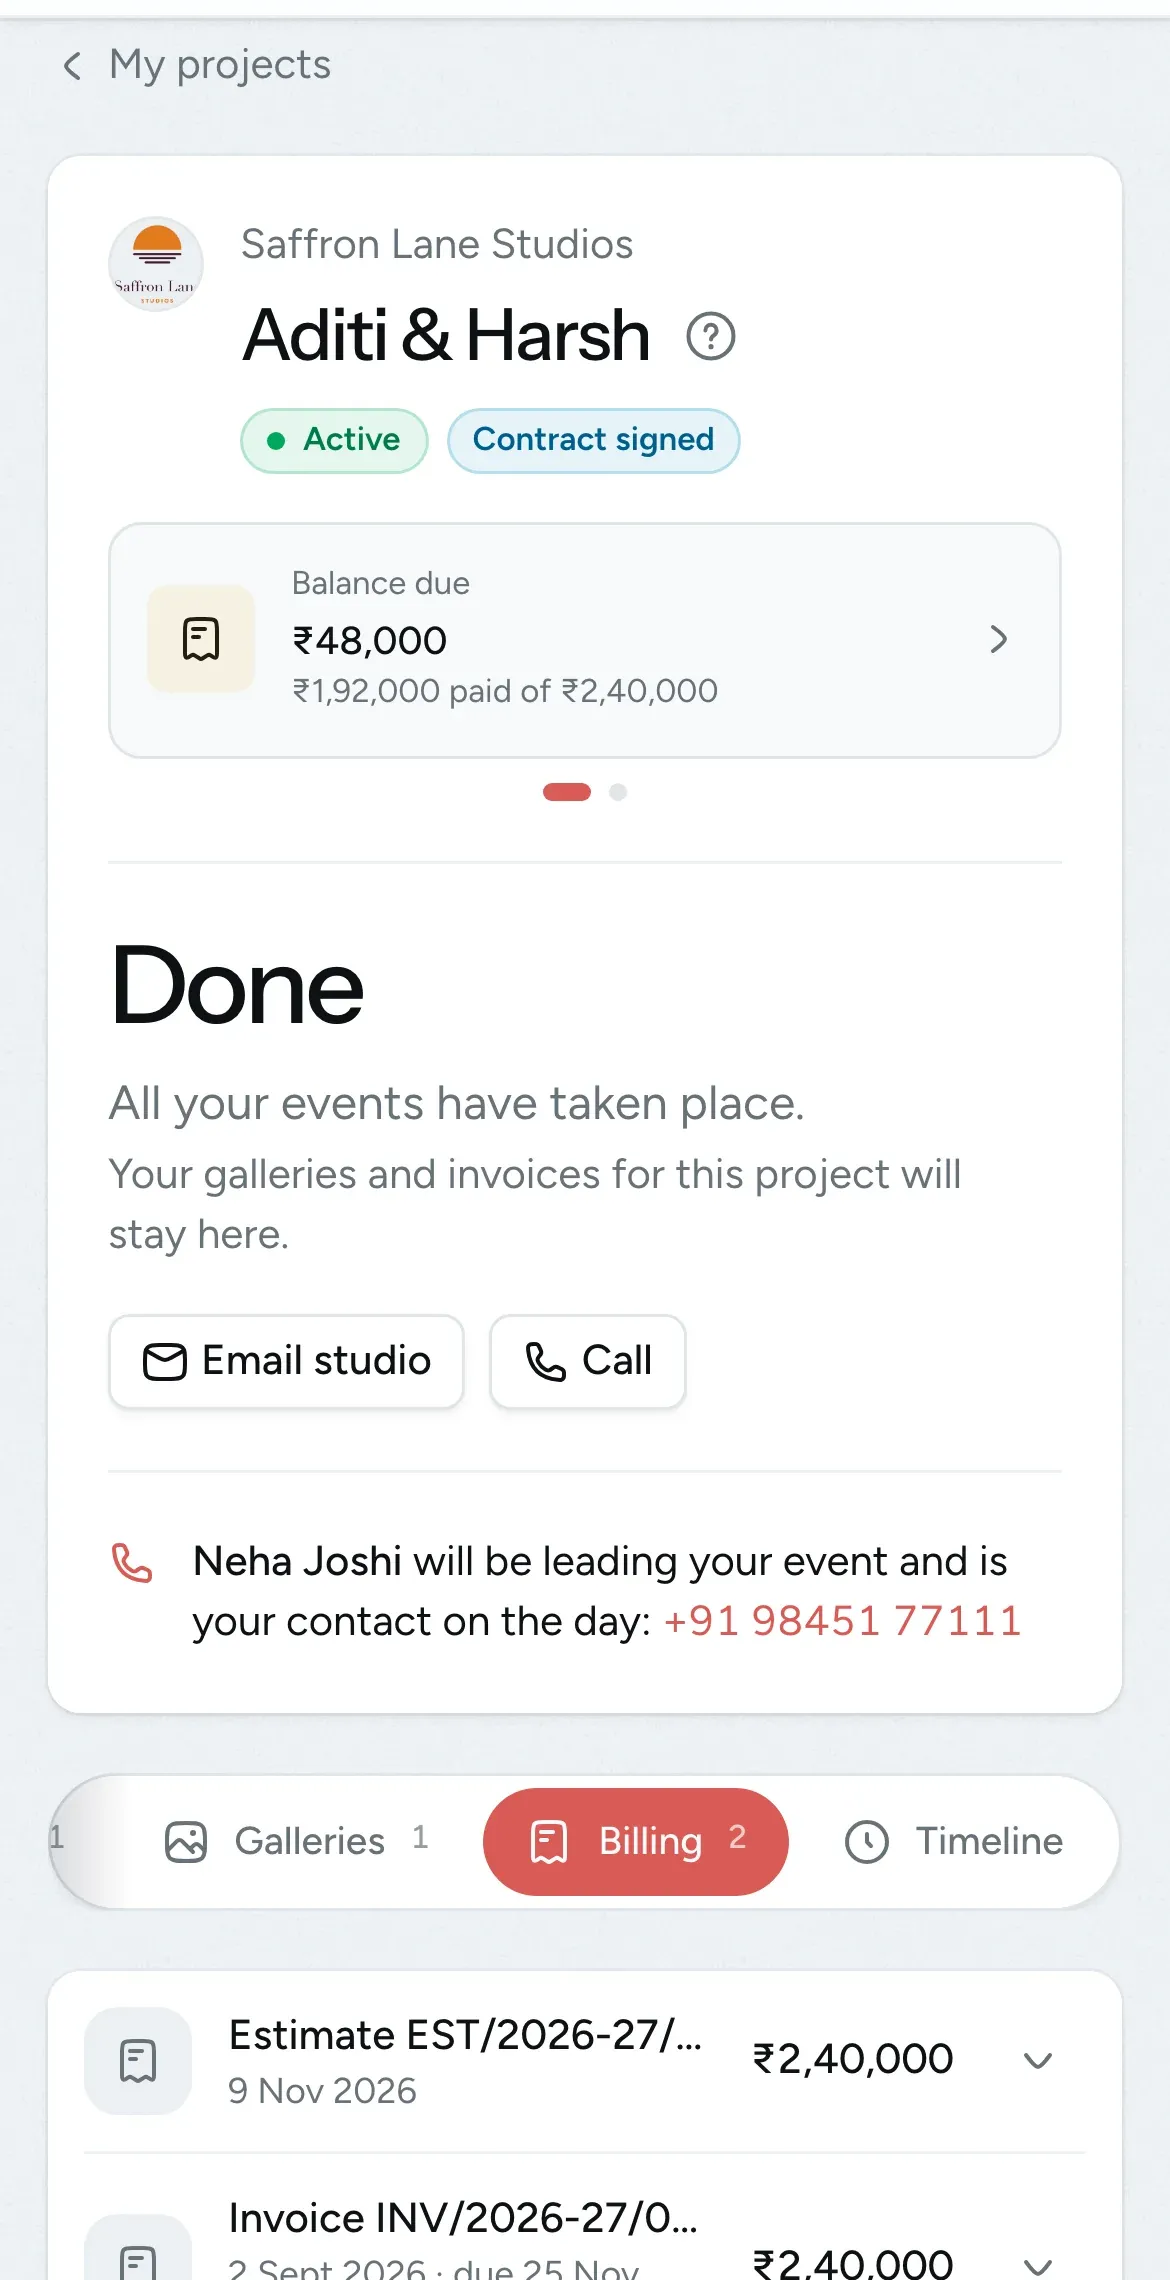
You Convert the estimate into an invoice with one click. Record each payment as it arrives, whether she pays in full or in instalments. FlickPic sends reminders automatically before, on and after the due date.
Client She receives the invoice and the reminders, and pays you directly using the payment details on the invoice. As soon as you record her payment, she gets a receipt.
-
Step 8: Share the gallery and get her selections
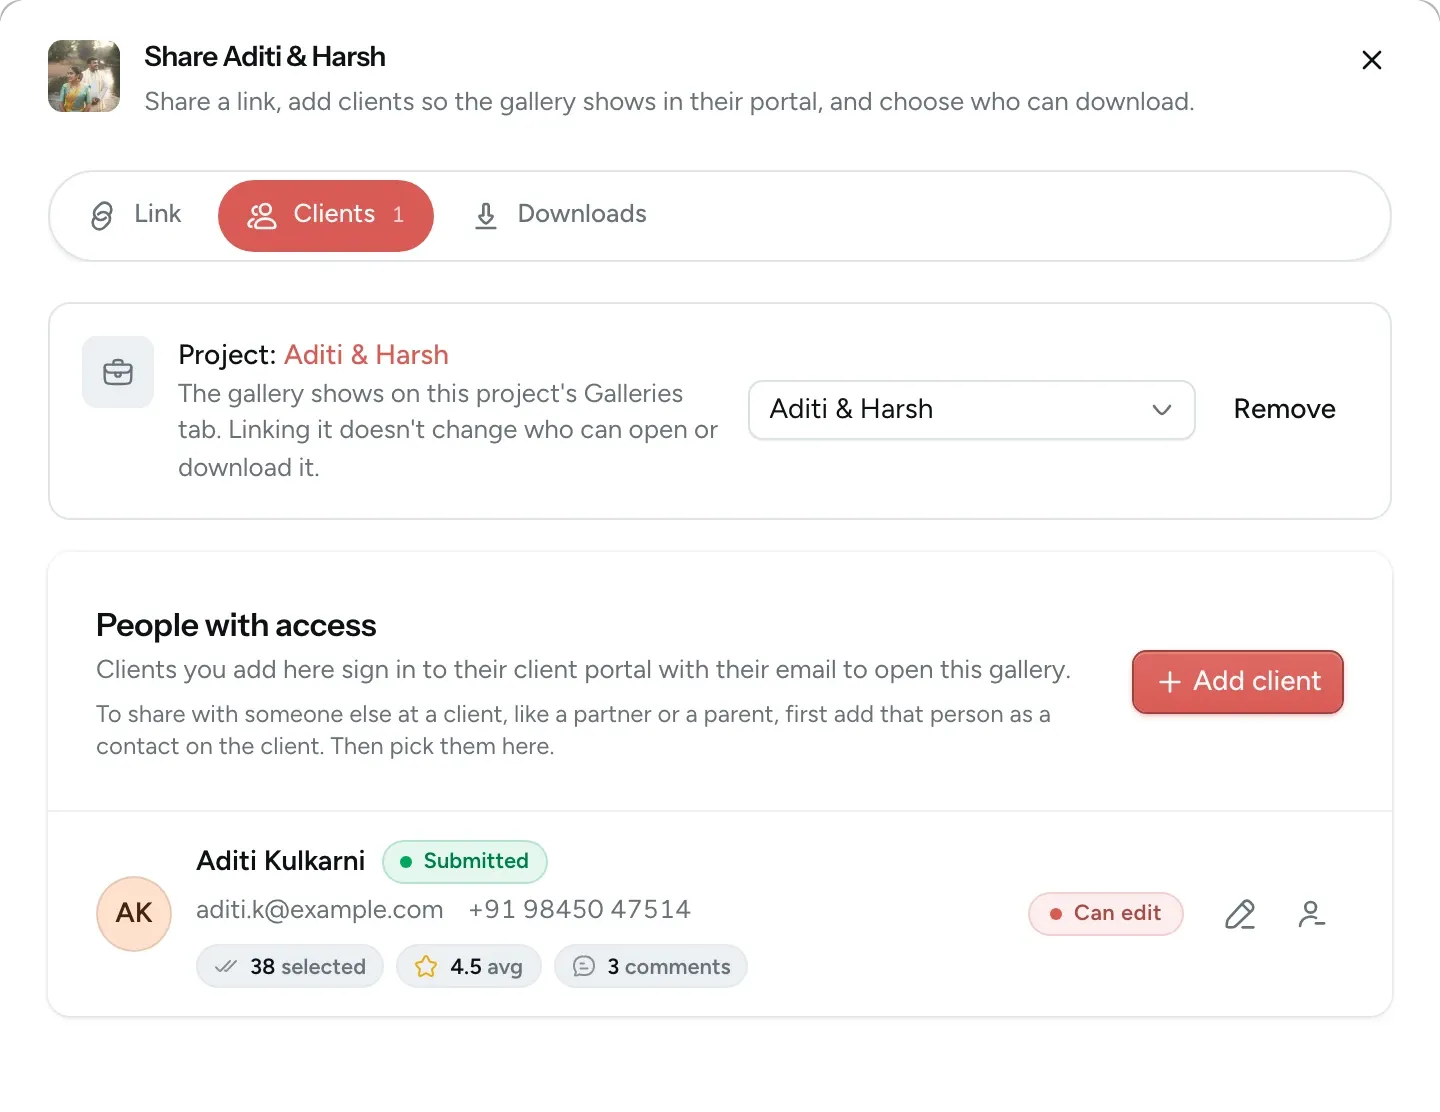
You Upload the photos, sort them into a set for each event, and publish the gallery. It is shared with her email address, so anyone else who opens a forwarded link sees nothing.
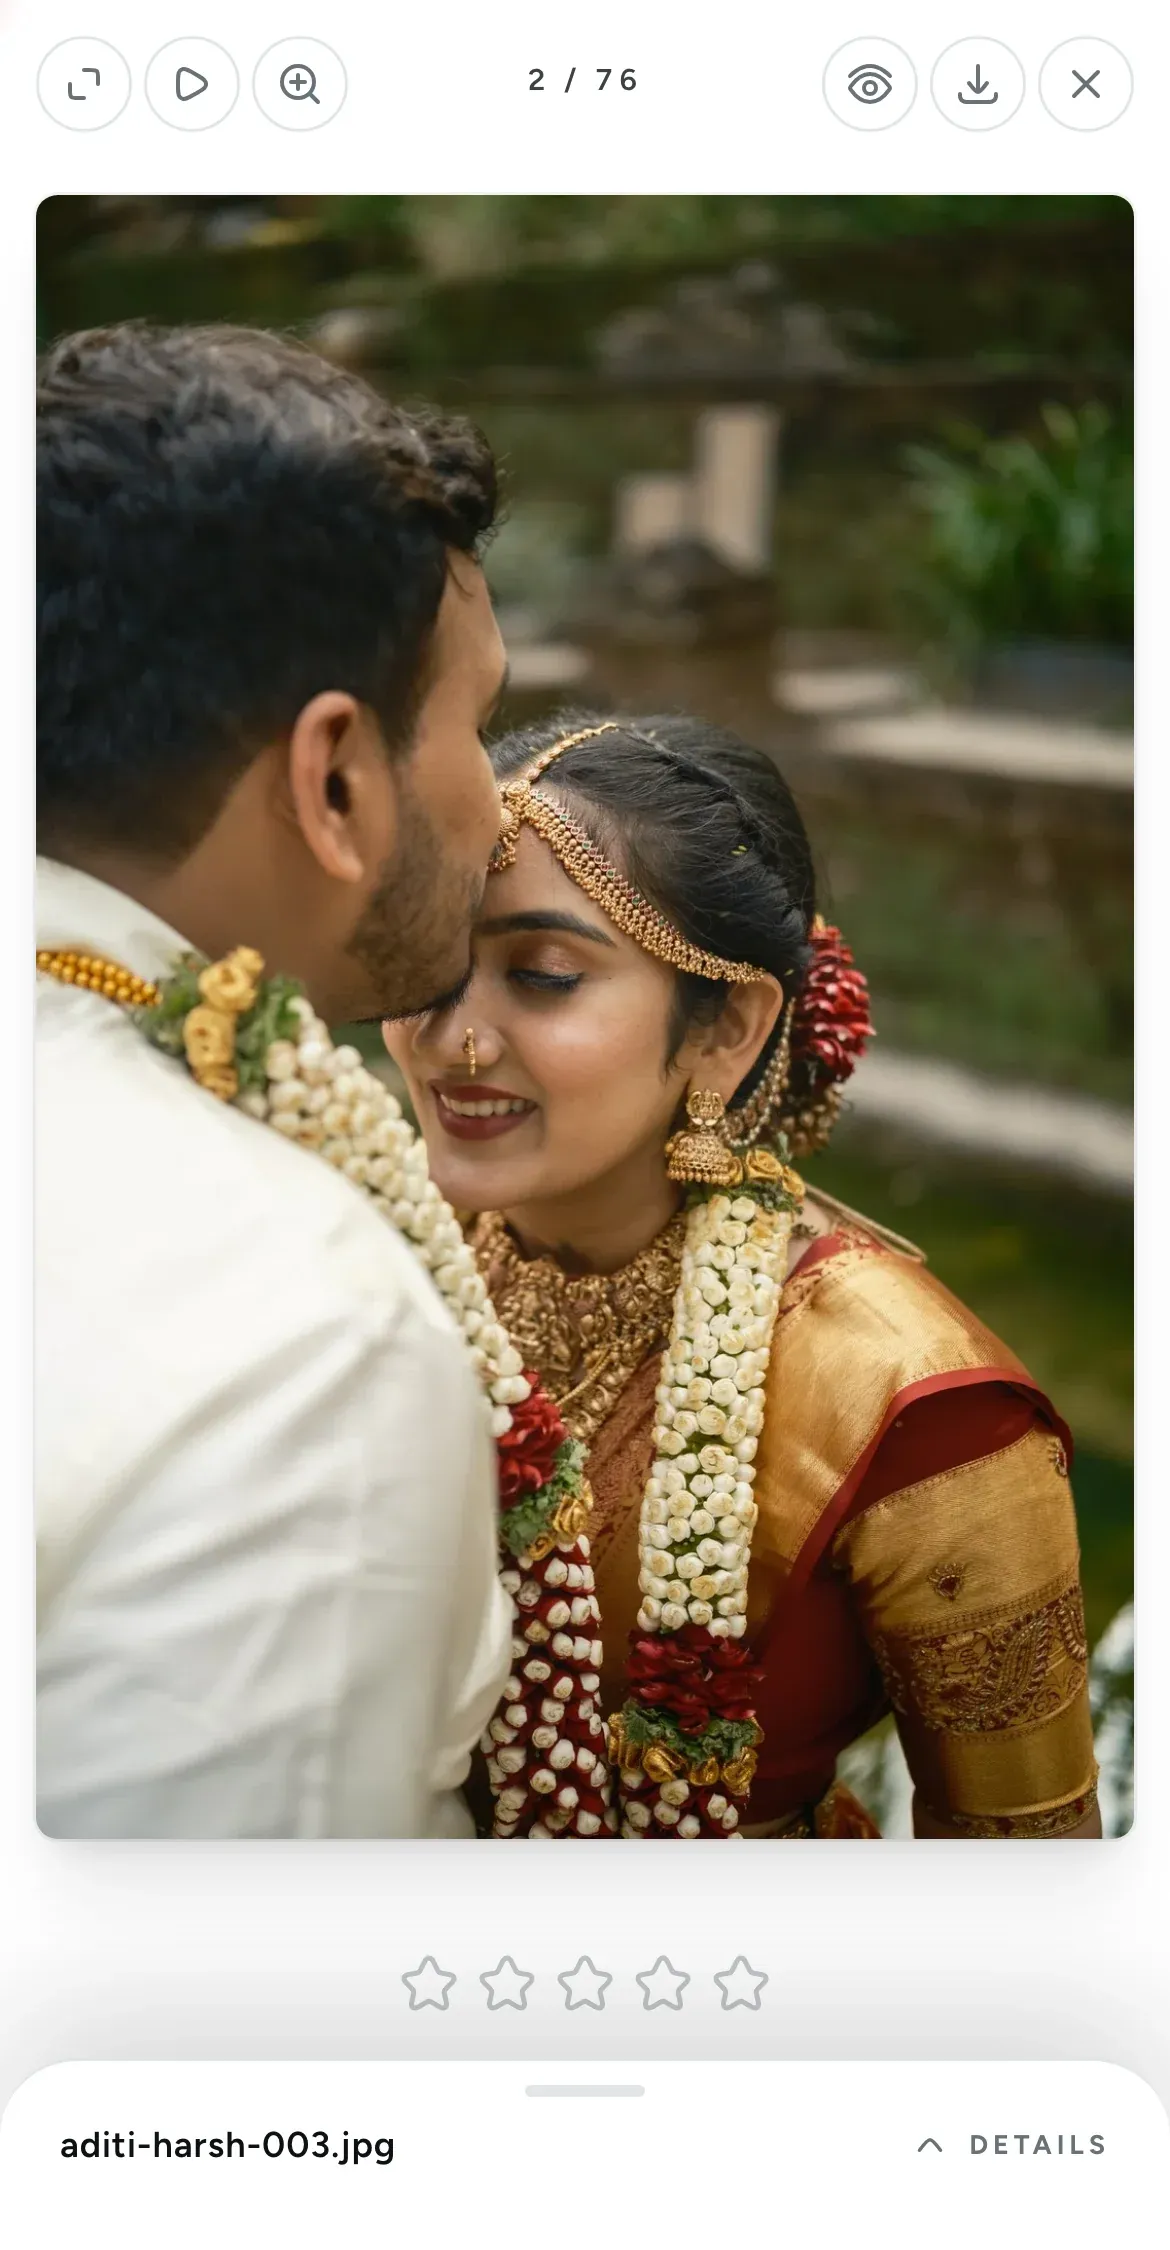
Client She goes through each event on her phone and stars the photos she wants in her album. When she submits her selections, you receive them as a list, ready for editing.
Experience FlickPic
Bring a real enquiry to a free 30-minute demo, and we'll take it through FlickPic with you, from the first message to the final gallery.